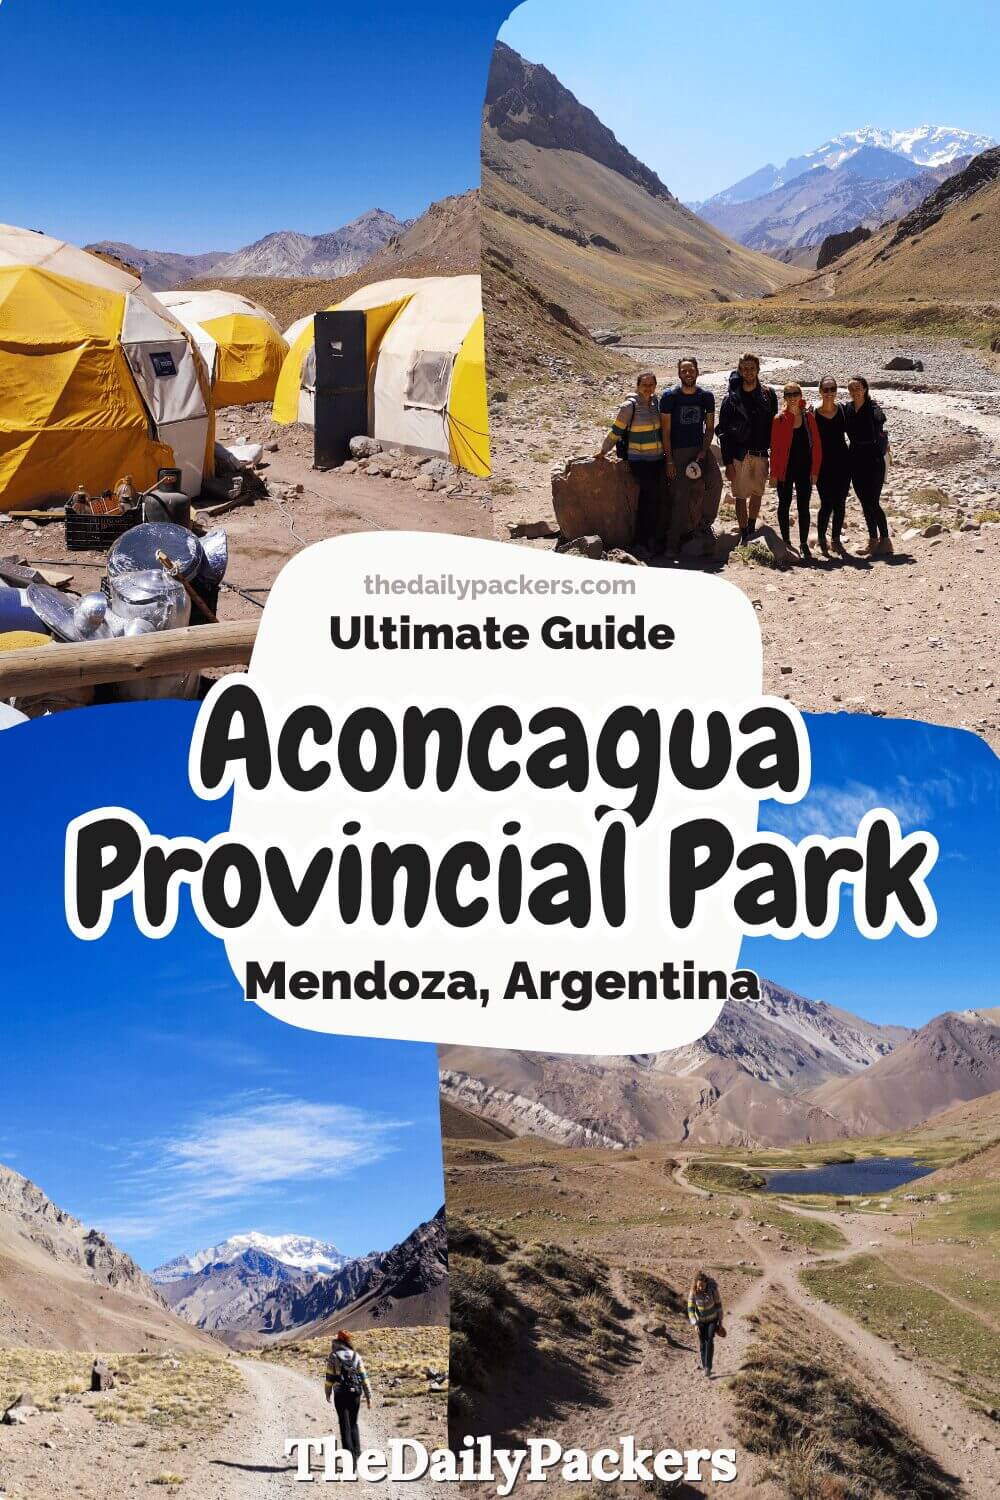
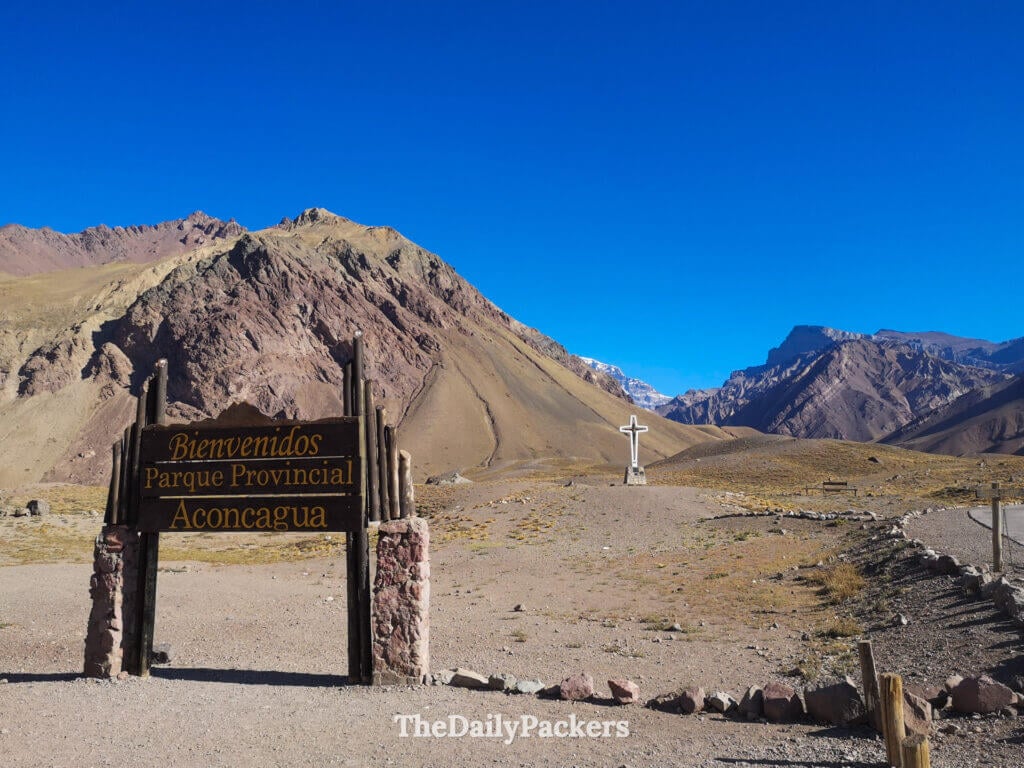
Why You’ll Love Hiking Aconcagua Provincial Park
The Andes are the backbone of South America, and while we absolutely loved the trails of El Chalten further south, there is something legendary about standing at the foot of the Aconcagua, also known as the “Stone Sentinel” and one of the 7 summits of the world. Located in the Mendoza province of Argentina, Mount Aconcagua is the highest peak in the Western Hemisphere at 6,960 meters.
Actually, hiking in Argentina is what first gave us the bug for big mountain adventures and eventually led us to tackle the TMB (Tour du Mont Blanc) in Europe
When we looked for things to do in Mendoza, we saw that hiking in Aconcagua Provincial Park was at the top of the list. After hiking Cerro Uritorco in Capilla Del Monte and spending a much-needed relaxing day at the Cacheuta Spa, we were ready for a bigger challenge. Hiking to Confluencia, Aconcagua base camp, sounded like the perfect adventure from Mendoza.
After checking how we could make that possible, we realized it would be a long day. At that time, we didn’t know we could simply take a tour like the High Mountain, Aconcagua, and Inca Bridge day tour. But honestly, doing it ourselves was full of fun. The trail was mostly empty, except for a few other intrepid hikers and mules carrying gear for the camp.
Whether you’re here for a casual walk to the first lagoon, an adventurous hike to the Aconcagua base camp, or even an intrepid climb to the summit, the scale of these parts of the Andes is something you have to see for yourself. We’ll show you how to swap the Mendoza vineyards for the dusty trails for a day, and don’t worry, a wine tour in Mendoza is the perfect reward for your legs once you’re done!
Note: We converted all prices in USD, as the price we paid in PESOS at that time isn’t accurate anymore due to Argentina’s constant inflation.

Choosing Your Trail: From Easy Walks to Pro Summits
Before you tie your laces, you need to know that Aconcagua Provincial Park isn’t just one single path. Depending on your fitness level and how much time you have, there are a few different ways to experience the “Stone Sentinel.”
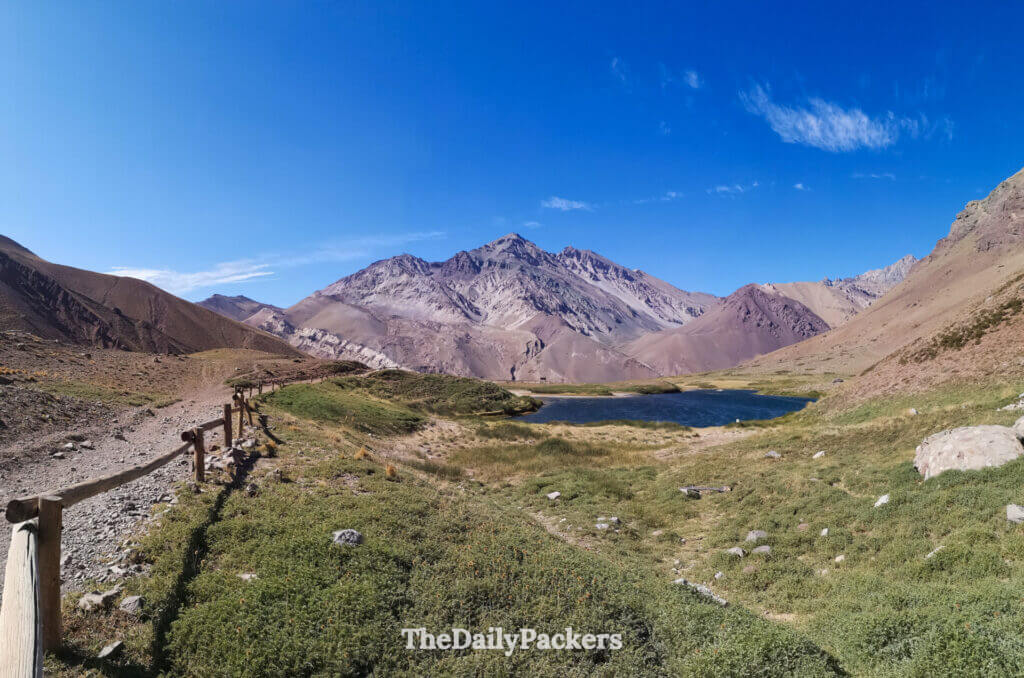
- Horcones Lagoon (3,000m): This is the easiest option and perfect if you are traveling with family or just want a relaxed stroll. It’s a short loop that takes about an hour. You get a beautiful reflection of the mountain in the water without much effort.
- Confluencia – The Base Camp Hike (3,400m): This is the trek we did! It’s the first camp for climbers heading to the summit. It’s a solid 1-day challenge that gives you a real “mountaineering” feel. Most people who visit the Aconcagua Provincial Park for a day trip choose this.
- Plaza Francia (4,000m): Usually a 3-day trek. This trail takes you to the base of the South Face of Aconcagua. It’s a massive vertical wall of ice and rock that is truly humbling to see.
- Plaza de Mulas (4,260m): A 5-day trek to the main base camp. It feels like a small city of tents in the middle of a desert of stone.
- The Summit (6,960m): The big one. This takes about 18 days and requires serious gear, permits, and physical preparation.
For most of you looking for a great day of adventure from Mendoza, the Aconcagua trek to Confluencia is the “sweet spot.” It’s tough enough to feel like an achievement but accessible enough to do in a single day.

How to Hike Aconcagua
Before we dive into the trail details, let’s talk numbers. This is a long day that requires a bit of stamina. In total, we walked about 24 km (15 miles) round trip. While the path isn’t technically difficult, the combination of distance and altitude makes it a solid challenge.
Our Complete Schedule: To help you plan, here is exactly how our day looked in January:
- 05:55 AM: Departed Mendoza Bus Terminal.
- 09:45 AM: Arrived at the Aconcagua Provincial Park entrance.
- 09:55 AM: Finished registration and permit payment.
- 10:10 AM: Started the hike (passed Horcones Lagoon).
- 12:30 PM: Arrived at Confluencia Base Camp (2.5 hours up).
- 12:35 PM – 01:45 PM: Explored the viewpoint, ate lunch, and chatted with fellow hikers.
- 01:45 PM: Started the descent.
- 04:10 PM: Arrived back at the park entrance (approx. 2 hours 15 mins down).
- 04:30 PM: Caught the return bus to Mendoza.
- 08:45 PM: Arrived back in Mendoza, exhausted but happy!

Part 1: The Stroll to Horcones Lagoon
The first kilometer or so is a gentle walk along a paved path and well-marked dirt trails. This part leads you straight to the Horcones Lagoon.

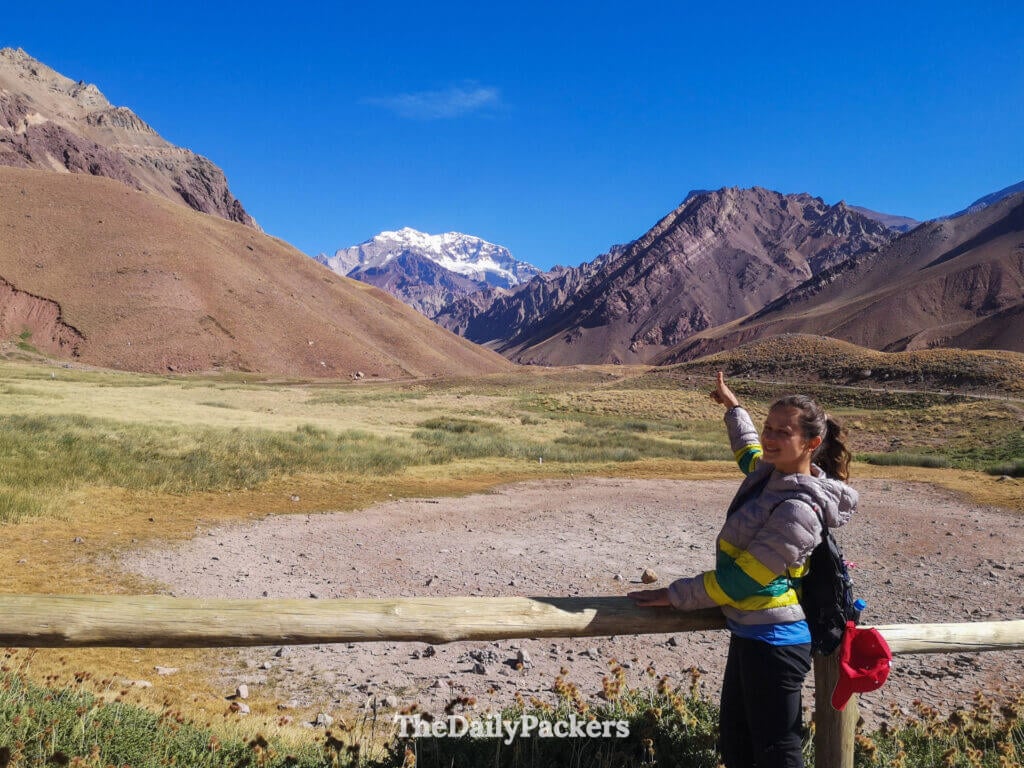
You really can’t get lost here; just keep your eyes on the massive, snow-capped peak in front of you and walk toward it. What amazed us most here is that you can already see Mount Aconcagua in the background.

The reflection of the mountains in the water is stunning, and for many tourists, this is where the journey ends.
Part 2: The Ascent to Confluencia
Once you cross the suspension bridge over the river, the “real” hike begins as you head towards Aconcagua.

This is where you’ll start to feel the altitude. The path becomes steeper, and the terrain changes to a mix of loose dirt and sand, which can make your footing a bit slippery.

One thing we didn’t expect was the wind in Aconcagua Provincial Park. It can get very strong in the valley, occasionally whipping up small “sand tornados.” It’s not dangerous, but it definitely makes you work harder! We took plenty of short breaks to catch our breath and admire the changing colors of the rocks.

Arriving at Confluencia
After about 2.5 to 3 hours of steady walking, you’ll see the yellow and orange tents of Confluencia (3,400m). When you arrive, you must check in with the Aconcagua Provincial Park rangers at their station. They are super friendly and will point you toward the free fresh water and public toilets.

There is a small viewpoint about 5 minutes past the camp that you shouldn’t skip—it gives you a much better perspective of the valley you just climbed. We sat there to eat the sandwiches we prepped the night before, joined by a couple of fellow hikers we met on the way.

One thing to keep in mind: the Aconcagua Provincial Park is very organized. You must leave Confluencia by 4:00 PM at the latest to ensure you reach the entrance before the park closes at 6:00 PM. Since you have to “check out” at the registration office to let them know you’re safely off the mountain, don’t lose track of time while enjoying the view!

Psst, you can join Tina’s Yoga Studio and get access to hundreds of Yoga, Meditation, and Well-being videos.
How to Get to the Park
Getting to the Aconcagua Provincial Park is an adventure in itself. It’s a long day, but trust us—seeing those peaks is worth every minute of the journey.

The Journey by Bus
To get there from Mendoza, you’ll likely take the Andesmar bus. It’s a comfortable double-decker (CAMA or SEMI-CAMA), and if you can, try to book your tickets 2 or 3 days in advance. We did this and managed to get seats right at the front of the upper deck—the mountain views along the way were incredible! Also, we got our ticket directly from the Andesmar office in the Mendoza bus terminal, but today you can also book them online. The destination you are looking for is Puente Del Inca.
- Departure: 5:55 am from the Mendoza terminal (the only time that allows a return trip in one day).
- Arrival: Around 9:45 am at the stop just after Puente del Inca. (Ask the driver if he can drop you directly there)
- Cost: Approximately 15 USD each way.
Of course, you also have the option to take a fully organised tour, though you won’t be doing the full hike, you will be visiting the Aconcagua Provincial Park

Renting a Car (The Flexible Choice)
If you prefer to move at your own pace, renting a car in Mendoza is a great idea. The drive takes about 2 hours and 30 minutes via National Route 7. The road is paved and very scenic, though you’ll be sharing it with plenty of trucks heading to the Chilean border. Having your own car means you aren’t rushing for the 4:30 pm bus back and can stop for photos at the colorful Puente del Inca or the Potrerillos Dam whenever you like.
You can expect to pay about 50 USD per day for a rental in Mendoza.

We recommend to rent a car through Discover Cars with free cancellation. Book your rental car here.
Registration & Permits (Crucial Step!)
Once you hop off the bus, cross the road to the registration office. You cannot start the hike without doing this.
- The Ticket: For the Confluencia trek, expect to pay around 25 USD
- Documents: Bring your passport. We only had pictures of our passports on our phones, and luckily, that was enough for the rangers.
- The “Check-Out” Rule: This is the part no one should miss: you must leave Confluencia by 4:00 pm and check back out at the entrance by 6:00 pm. The Parque Provincial Aconcagua is strict about this to ensure everyone is safe and off the mountain before dark.

Getting Back
We took the 4:30 pm bus directly from the Parque Provincial Aconcagua entrance. It’s the same bus you took in the morning, and it gets you back to Mendoza by 8:45 pm—just in time for that hard-earned dinner! Or if, like us, the Argentinian dinner time is too late, plan for some additional Sandwiches.
If you miss the 4:30 pm bus, there is another one from Puente del Inca at 8:30 pm.
The Best Time to Visit: Weather & Seasons
The weather in the High Andes is unpredictable and can change in minutes. Because of the altitude, it’s always much colder at the Parque Provincial Aconcagua than it is in the city of Mendoza. Here is what you can expect throughout the year:
- Summer (December – February): This is the peak season and the best time to hike. Days are sunny and clear, though very windy. Temperatures at the base range from 15°C to 25°C (59°F – 77°F), but can drop to 0°C (32°F) at night. This is when we went (January), and it was perfect.
- Autumn (March – May): The crowds thin out, and the colors of the valley turn golden. It gets much colder, with daytime highs around 10°C to 15°C (50°F – 59°F). Snow starts to appear on the trails by late April.
- Winter (June – August): We don’t recommend hiking now unless you are an expert. Most of the Aconcagua Provincial park is covered in deep snow, and temperatures rarely rise above 0°C (32°F), often dropping to -20°C (-4°F).
- Spring (September – November): A beautiful time as the snow begins to melt, but trails can be muddy. Temperatures hover between 5°C and 15°C (41°F – 59°F).
Our Tip: Always check the wind forecast before leaving Mendoza. Even on a sunny day, high winds can make the “real feel” temperature much colder than it looks!

Where to Base Yourself: Our Favorite Neighborhoods
While Mendoza is the most common base for exploring Aconcagua, it’s not your only option. Depending on your itinerary, you can choose between the wine capital of Argentina or the bustling heart of Chile.
Option 1: Mendoza, Argentina (The Classic Choice)
Staying in Mendoza is the easiest way to manage your Aconcagua Provincial Park permits and catch the early morning buses. Most travelers prefer staying in the City Center near Plaza Independencia to be close to the bus terminal and the best restaurants.
- Budget (€): Clover Hostel – We love the social vibe here! It has a cool rooftop, a pool for post-hike recovery, and is an easy walk to the terminal. Perfect if you want to meet other hikers.
- Mid-Range (€€): Huentala Hotel – A beautiful boutique hotel with an on-site art gallery and a wine-themed cellar. It’s classy without being stuffy—and they even have a casino if you’re feeling lucky after your hike!
- Luxury (€€€): Diplomatic Hotel – If you want to be pampered, this is it. It’s arguably the most elegant hotel in the city with incredible Andes views, a luxury spa, and a pool that feels very rewarding after a dusty day on the trail.

Option 2: Santiago de Chile (The Alternative)
Did you know you can also do this from Santiago de Chile? If you are staying in Chile, you can take a long-distance bus or a private tour across the border through the “Los Libertadores” pass. Just keep in mind that you’ll need to account for border control time, which can be unpredictable. It’s a spectacular drive through the zig-zagging “Los Caracoles” road, but it makes for a very long day trip!

Essential Hiking Gear & Tips
Hiking at 3,400 meters is no joke, and the weather can turn from “sunny stroll” to “freezing gale” in minutes. Since there are no shops once you leave the Aconcagua Provincial Park entrance, you need to carry everything you need on your back.
The Gear You Can’t Skip
- Layered Clothing: Even in summer, you’ll want a windbreaker and a warm fleece. The wind in the valley is famous for its bite!
- Hiking Boots: The trail to Confluencia is dusty and steep in parts. You’ll want good ankle support for the sandy sections.
- Sun Protection: The sun at this altitude is incredibly strong. Bring high-SPF sunscreen, a wide-brimmed hat, and polarized sunglasses.

Fueling the Climb
Because you’ll be burning serious calories, we recommend packing “smart” snacks that won’t weigh you down.
- Hydration is Key: Bring at least 2 to 3 liters of water per person. There is a free water point at Confluencia, but you need plenty for the climb.
- Trail Snacks: We packed nuts, dried fruits, and a few Alfajores (the ultimate Argentine sugar boost!).
- The “Secret” Base Camp Shop: When you reach Confluencia, you might see a small shop or restaurant tent selling water, snacks, and even cigarettes. However, don’t rely on it! When we were there, it was empty, and it’s not clear if they open every day or only for lunch during the high season. To be safe, pretend it doesn’t exist and pack all your own food.
- The Summit Lunch: We prepped sandwiches in Mendoza the night before. Eating them at the Confluencia viewpoint, surrounded by 6,000m peaks, was one of our favorite moments of the trip.

What No One Tells You
Even with the best planning, there are always a few things that catch you by surprise when you’re actually on the trail. Here are the “inside tips” we wish we’d known before we arrived at the park entrance.
- The Check-Out is Mandatory: This is the big one. When you finish your hike, you must stop back at the registration office and tell them you’ve returned. If you don’t, the rangers will eventually start a search for you! We made sure to leave Confluencia by 1:45 PM to be back at the entrance well before the 6:00 PM closing time.
- The Bus Reality: The bus is not direct and will make several stops at local terminals along the way. Be prepared for a full bus; ours was packed, and people were even standing in the aisles at some points!
- The “Toilet Lottery”: While the bus itself has a WC, don’t count on it. Most of the time, they are closed as it avoids having to maintain them.
- The Wind is a Character: People talk about the altitude, but no one mentions the wind. In the valley leading to Confluencia, it can get incredibly gusty. We even saw small “sand tornadoes” forming on the trail. It’s not scary, but it makes the hike feel much more like a wild adventure.
- Altitude is Real: Even if you feel fit, you will notice your breath getting shorter once you pass the Horcones Lagoon. Take it slow—there’s no prize for finishing first!
- Mules Have the Right of Way: You’ll likely share the trail with groups of mules carrying heavy gear up to the higher base camps. When you hear them coming, step aside and give them plenty of space. They are the true workers of the mountain!
- Bring Cash for the Bus: While you can often pay for the Aconcagua Provincial Park entrance with a card, the buses from Mendoza (like Andesmar) or the local stops usually require cash or pre-booked tickets. Don’t get stuck at a bus stop without a few pesos in your pocket.


What it Costs: Budgeting for Your Day
Argentina is an incredible country to visit, but as we’ve mentioned before, the economy moves fast! Prices for things like bus tickets and park entries can often change, so we always recommend double-checking the latest rates on the official Aconcagua Provincial Park website before you go.
Here is a breakdown of what we spent for our day on the mountain (estimated in USD for better planning):
- Bus Tickets (Andesmar): Expect to pay around $30 USD for a round-trip ticket from Mendoza. It’s an incredible value considering it’s an 8-hour journey total!
- Park Permit (Confluencia Trek): The 1-day permit for foreigners is usually around $25 USD. Remember, you’ll need to pay this at the entrance office.
- Food & Water: If you prep your own sandwiches and snacks in Mendoza (which we highly recommend), you’ll only spend about $5 – $8 USD on supplies.
- Accommodation in Mendoza: You can find a great bed in a hostel like Clover for $30 USD, while a luxury stay at the Diplomatic might be $150+ USD per night.
- Total Budget: Not including your hotel, you can have a world-class trekking adventure at one of the world’s most famous mountains for less than $60 USD per person without accommodation
Tip: If you want to save money on fees, we always use our Wise Card in Argentina. It usually gives a much better exchange rate than the local banks and saves us a ton on ATM fees!
About the authors
We are Alex and Tina, a French-Serbian couple who met in China back in 2014. We spent three incredible years there before making France our home. Our shared passion for travel has been the heartbeat of our relationship for over 12 years, taking us across 44 countries and counting.
We launched TheDailyPackers in 2019 as a way to document our adventures. In 2026, we reached a major milestone by officially turning our blog into our full-time job. While we are still growing toward financial independence through this platform, every article we write is fueled by our mission to make your voyages easier through in-depth guides, honest advice, and the lessons we’ve learned from our own mistakes.
Our journey has not been without its storms. In 2023, our world changed forever when our first son, Poppy, was stillborn on November 25th. It was, and remains, the hardest chapter of our lives. In 2025, we were blessed with our second little boy, Milo. He has since joined our traveling tribe, and you’ll be seeing him—and the reality of traveling with a little one-on the blog more and more.
We hope to inspire you to explore the world with curiosity and resilience. Thank you for being part of our story.
You may also like those related posts
19 Best things to do in Avignon, France, in 3 days
Hiking in Tierra del Fuego National Park: The Ultimate Guide
Imlil to Ouarzazate: Epic Road Trip through Ksars
The Perfect 3-week Thailand Itinerary from North to South
12 Most beautiful beaches in Corsica, France
Obernai Christmas Market: The Hidden Gem of Alsace
Hoi An Tailor Guide: Our Experience at Blue Eye
11 Best things to do in Trakai, Lithuania, in 1 day
Pssst, did you know that…
If you purchase something through our links, we earn a small fee. However, you still pay the same. Win-win! And one day we may get to be full-time travel bloggers =)
Find Hotels with Booking.com
Do Yoga with KVY
Buy us a Coffee
Rent a car with DiscoverCars
Find Attractions with GetYourGuide
Find Flights with Expedia
Buy an eSIM with Airalo
Get insured with World Nomads
Get ready with Amazon.com