
Why You’ll Love Hiking Refugio Frey
If you are planning a trip to Bariloche, you’ve likely heard about the Refugio Frey hike. It is easily one of the most iconic treks in the region, and for good reason. It offers that perfect mix of challenge and reward that we look for in South America.
You’ll love this trail because it feels like a true mountain adventure. While many people take the forest path, we highly recommend the route via Cerro Catedral. It gets you high up into the Andes quickly, where the views are absolutely massive. You’ll find yourself walking along rocky ridges, looking down at deep blue lagoons like Laguna Schmoll and Laguna Toncek.
This hike was recommended to us by our host, who has been living in Bariloche for years and who happened to be a mountain guide and ski instructor.
One of our favorite moments was seeing condors flying by just a few meters away from us. It was a wild and fantastic experience that felt quite different from other famous hikes like Laguna Esmeralda in Ushuaia or the popular trails in El Chalten.
Whether you are a seasoned hiker or just looking for the best view in Bariloche, Refugio Frey delivers that “top of the world” feeling without needing a multi-day commitment.


Choosing Your Trail: Options and Overview
When planning your Refugio Frey hike, you actually have a few different ways to reach the top. Depending on your fitness level and how much time you want to spend on the trail, you can pick the one that fits your day best.
- The Regular Trail (Out & Back): This is the classic trekking Bariloche experience. It’s a 12km walk each way starting from the base of the mountain. It’s free and stays mostly in the forest and lower slopes.
- The Full Loop (Up via Regular Trail + Down via Cerro Catedral): You hike up the traditional way (12km) and then cross over the ridges to come down using the lifts at Cerro Catedral. It’s a great way to see both sides, but you have to keep a very close eye on the clock so you don’t miss the last lift down!
- The “Easy” Start (Up via Cerro Catedral + Down via Regular Trail): This is exactly what we did. You take the cable car and chairlift up to the high peaks first. From there, it’s about 10km of high-altitude hiking to reach the refuge, and then a 12km hike back down to the base on the regular path.
We chose this last option because we got a late start. By taking the lifts up, we tackled the most technical and “hard” parts of the mountain while we still had fresh legs, without the stress of rushing to catch a lift back down at the end of the day.

How to Hike Refugio Frey via Cerro Catedral
If you decide to take the ridge route as we did, your journey starts at the base of the Cerro Catedral ski resort. Once you hop off the bus, head straight to the ticket office to buy your lift pass. It’s a small investment that saves you a lot of uphill walking and gets you straight to the best views. We also recommend using the restrooms here, as they are the last “real” facilities you’ll see until you reach the refuge!

To get to the start of the Refugio Frey trail, you have to take two different lifts:
- Cable Car Amancay: This takes you up the first section of the mountain.
- Chairlift Diente del Diablo: This brings you to the high ridges where the real trekking begins.

Once you step off at the “Devil’s Tooth,” you are standing on the largest ski resort in South America. It’s worth taking a few minutes to walk around the summit area and enjoy the 360-degree views of the Andes before you start your trek.

The High Ridge and Laguna Schmoll
The actual hiking begins on a simple dirt trail, but don’t get too comfortable! The terrain changes quickly into a moonscape of boulders.

You’ll spend a good portion of the morning hopping across uneven rocks, following the red and yellow dots painted on the stones to stay on track. This part is a bit of a workout for your ankles, so you’ll want to keep your eyes on the ground.

One of the highlights of our day happened along these ridges: a massive condor flew just meters away from us. Seeing them soar above the rugged peaks is a breathtaking experience that makes the rocky scramble totally worth it.

We found a quiet rocky outcrop for a lunch break with a view that beats any restaurant in Bariloche.

Eventually, you’ll reach Laguna Schmoll, a crystal-clear alpine lagoon tucked into the rocks. From here, you follow the right side of the water to begin your descent toward the valley.

Descending to Refugio Frey
The section between Laguna Schmoll and the valley floor is easily the most challenging part of the Refugio Frey hike. There isn’t a clear path here; instead, you’ll face a steep slope of loose, slippery rocks. It’s the kind of place where you need to take your time to avoid a slide.

Once you make it down, the landscape opens up beautifully. You’ll walk past Laguna Toncek and finally see the stone refuge sitting at the far end of the lake.

The change in atmosphere is instant. While the ridge trail is often quiet and empty, the refuge is usually buzzing with hikers, campers, and families. It’s a great spot to rest your legs and soak in the mountain vibes.

The Return: The Regular Trail
After enjoying the views at the lake, you can start the trek back via the “Regular Trail.” This is a completely different experience from the morning. It’s much easier—mostly a well-defined dirt path that winds its way down through the forest.

The first part of the descent offers some nice panoramic views of the lakes below, but once you enter the woods, the path is sheltered and straightforward. It can feel a bit long and repetitive toward the end, but after the technical rocky sections earlier in the day, your knees will definitely appreciate the softer ground as you head back to the Cerro Catedral base.

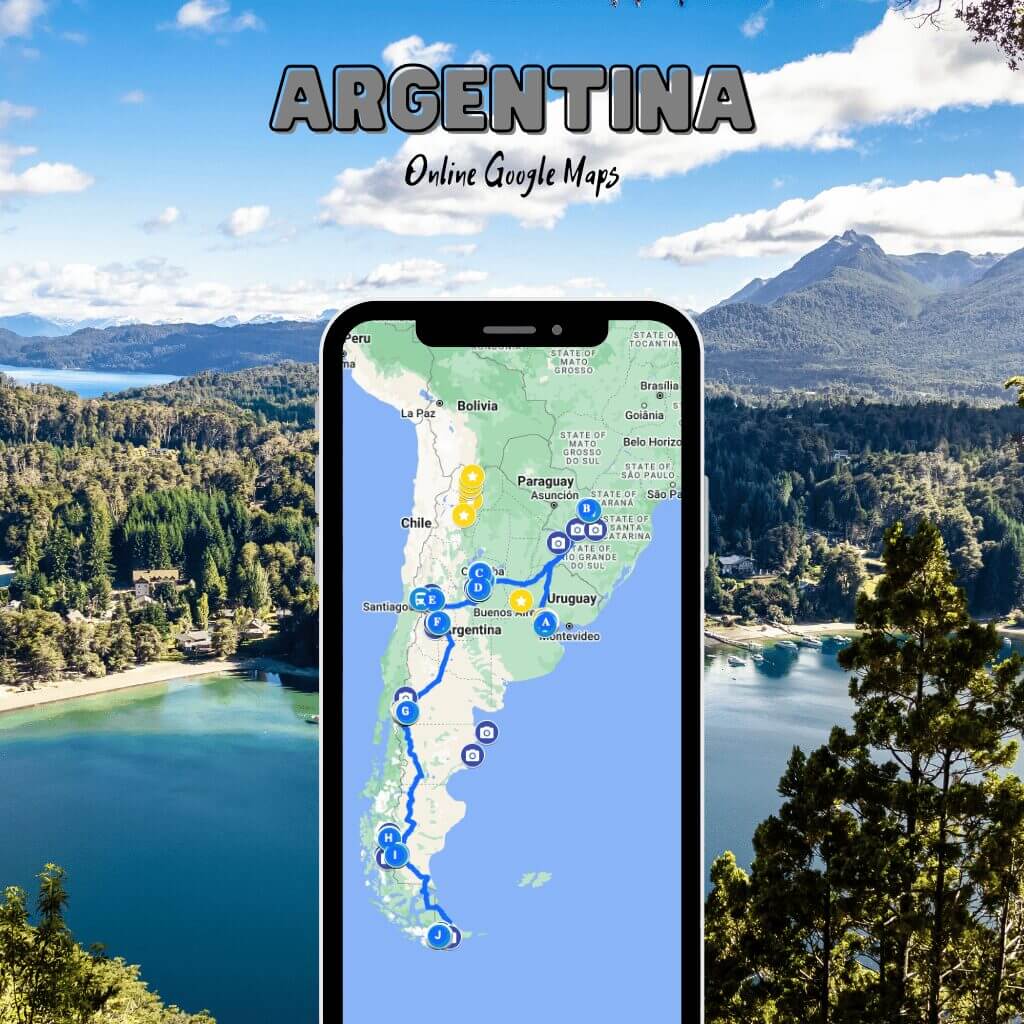
Tip: Our Argentina Google Map includes all the trail variations and pins you need to self-hike Refugio Frey.
How to Get to the Trailhead
To reach the trailhead for any of the routes, you first need to get to the base of Cerro Catedral. While it’s the main hub for skiing, it’s also the gateway for trekking in Bariloche. Public buses are the most budget-friendly way to get there, but a little heads-up: like most buses in Bariloche, they don’t always run on a strict schedule, so you might have to be a bit patient.
- From Bariloche Town: Catch Bus 55. It takes you directly to the base for about 1,2€.
- From Llao Llao: Take Bus 20 (35 pesos) to the main intersection, then transfer to Bus 55 ( 1,2€.) to finish the journey.
The bus drops you off at the Cerro Catedral terminal. From there, it’s a short walk uphill toward the cable car station. You’ll find some shops and restaurants there if you need any last-minute supplies before you start the hike to Refugio Frey.

The Best Time to Visit: Weather & Seasons
Choosing when to go is key for the best experience. The mountains in South America can be unpredictable, so here is what you can expect throughout the year:
- Summer (December to February): This is the peak season for hiking. Expect temperatures between 10°C and 25°C (50°F – 77°F). The days are long, and the trails are usually clear of snow, making it the best time for a refugio frey hike.
- Autumn (March to May): The colors are stunning as the leaves turn orange and red. Temperatures drop to 4°C – 15°C (39°F – 59°F). It’s quieter, but you’ll need extra layers as the wind starts to get chilly.
- Winter (June to August): The mountain turns into a ski resort. Temperatures hover between -5°C and 8°C (23°F – 46°F). Unless you are an experienced winter trekker with technical gear, we don’t recommend hiking to the refuge now as the trails are buried in deep snow. This is the same advice as not hiking the Tour du Mont Blanc in winter.
- Spring (September to November): A beautiful time as the flowers bloom, but snow often lingers on the high ridges. Temperatures range from 3°C to 16°C (37°F – 61°F). If you go in early spring, check trail conditions as the path via Cerro Catedral might still be closed.

Tip: Always check the wind forecast before heading up; even on a sunny day, the ridges at Cerro Catedral can get very gusty!
Where to Base Yourself: Our Favorite Neighborhoods
When you aren’t on the trails, you’ll want a cozy spot to crash. Bariloche is quite spread out, so where you stay depends on your vibe and how you plan to get around:
Downtown (Centro): This is the most convenient spot if you want to be close to the bus terminal, chocolate shops, and restaurants. It makes catching Bus 55 to the mountains very easy. We recommend Hotel Cottbus for a comfortable, central stay that won’t break the bank.
Avenida Bustillo (The “Kilometers”): This is the long road hugging the lake. It’s quieter than downtown, and many hotels here offer incredible views of Nahuel Huapi. It’s a great middle ground. A fantastic option here is Design Suites Bariloche, where you can soak in the views after a long day of trekking.
Llao Llao / Colonia Suiza: These areas are further out and feel much more “mountain-chic.” You’ll be closer to other hikes, but you’ll have to transfer buses to get to Cerro Catedral. For a total “bucket list” experience, the Llao Llao Resort, Golf-Spa is the most iconic hotel in Argentina.

Essential Hiking Gear & Tips
You don’t need professional mountaineering gear for the Refugio Frey hike, but you do need to be prepared for changing conditions. Here is what we suggest packing:
- Footwear: Sturdy hiking shoes or boots are a must. The rocky sections on the Cerro Catedral route can be tough on your ankles.
- Clothing: Use layers! We wore hiking pants and a breathable Merino wool shirt. Even in summer, bring a mid-layer or a foldable windbreaker jacket for the ridges.
- Sun Protection: The sun at 2,100 meters is strong. Pack suncream and sunglasses.
- Hydration & Food: Bring at least 2L of water per person and plenty of snacks like peanuts or cereal bars. For lunch, nothing beats a sandwich with a view.
- Safety Tip: If the weather forecast predicts heavy rain or high winds, don’t do the trail. The rocky ridges become very slippery and dangerous.
- The Basics: Don’t forget toilet paper and wet wipes—just remember to carry everything back out with you!

What No One Tells You
There are always those little details you only find out once you’re actually on the trail. Here is the “insider” info we wish we’d known before our trekking Bariloche adventure:
- The Timing Breakdown: To give you a realistic idea for your planning, here was our day: We caught the bus at 10:37 AM and were at the top of the Cerro Catedral lifts by 11:31 AM. We started the hike at 12:26 PM, hit Laguna Schmoll by 2:15 PM, and finally reached Refugio Frey at 3:00 PM. After a short break, we were back at the base by 5:50 PM.
- The Crowd Shift: The ridge trail via the lifts is incredibly peaceful; we only saw about 15 people. But once you arrive at the refuge, it’s a total shock. It feels like a busy downtown square with hundreds of people who hiked up the regular trail. If you want a quiet moment at the lake, try to find a spot a bit further away from the main building.
- The Descent is the Hardest Part: Everyone talks about the climb, but the steep section of loose rocks (scree) right after Laguna Schmoll is the real test. It’s tough on the knees and requires some serious concentration.
- Mandatory Registration: This is a big one. You must register your trek for free on the Nahuel Huapi National Park website before you go. It’s for your safety, and the park rangers do check.


What it Costs: Budgeting for Your Day
Prices in Argentina can fluctuate, but here is a breakdown of what you can expect to spend for a day on the Refugio Frey hike (based on our experience):
- Bus 55 (Town to Cerro Catedral): 1,2€
- Cable Car + Chairlift: 15€
- SUBE Card Top-up: 5€ (maximum at the base market)
- Refugio Frey Access: Free
- Trekking Registration: Free

Tip: If you need to add money to your SUBE card for the bus back, there is a small mini-market about 5 minutes down the road from the bus stop on the left. They have a 5€ limit, which is enough to get you back to town!
About the authors
We are Alex and Tina, a French-Serbian couple who met in China back in 2014. We spent three incredible years there before making France our home. Our shared passion for travel has been the heartbeat of our relationship for over 12 years, taking us across 44 countries and counting.
We launched TheDailyPackers in 2019 as a way to document our adventures. In 2026, we reached a major milestone by officially turning our blog into our full-time job. While we are still growing toward financial independence through this platform, every article we write is fueled by our mission to make your voyages easier through in-depth guides, honest advice, and the lessons we’ve learned from our own mistakes.
Our journey has not been without its storms. In 2023, our world changed forever when our first son, Poppy, was stillborn on November 25th. It was, and remains, the hardest chapter of our lives. In 2025, we were blessed with our second little boy, Milo. He has since joined our traveling tribe, and you’ll be seeing him—and the reality of traveling with a little one-on the blog more and more.
We hope to inspire you to explore the world with curiosity and resilience. Thank you for being part of our story.
You may also like those related posts
21 Best things to do in Regensburg, Germany, in 2 to 3 days
15 mind-boggling Culture Shocks in China
20 best things to do in Dubrovnik, Croatia, in 1 to 5 days
3 Weeks South America Itinerary: Peru, Bolivia & Chile Travel Route
14 best things to do in Zadar, in Croatia, in 1 to 4 days
Walhalla: How to visit Germany’s best Hall of Fame
Uyuni Salt Flats Tour: An Epic 3-day Adventure in Bolivia
19 Best things to do in Nimes, France, in 3 days or more
Pssst, did you know that…
If you purchase something through our links, we earn a small fee. However, you still pay the same. Win-win! And one day we may get to be full-time travel bloggers =)
Find Hotels with Booking.com
Do Yoga with KVY
Buy us a Coffee
Rent a car with DiscoverCars
Find Attractions with GetYourGuide
Find Flights with Expedia
Buy an eSIM with Airalo
Get insured with World Nomads
Get ready with Amazon.com