Introduction: W-Trek Day 4
Today’s trek will take us from Domos Frances to the Los Cuernos area, where another shelter and camping site are located. From there, we’ll continue straight to Chileno, where we’ll stay overnight. Along the way, there’s one key intersection where the trail splits between Chileno and Central—one not to miss!
Trail distance:
- Frances to Los Cuernos: 2 km – 2h
- Los Cuernos to Chileno: 13 km – 4.5 to 5h
As for our knees, this morning, we’re feeling fine. My knee pain has subsided for now, but the real question is how long it will last. The pain is mainly on the left side of my left knee—possibly a tendon inflammation or something similar.
Read: The Ultimate Torres del Paine hiking guide, 5-day W-Trek
Mapping the W-Trek Day 4

Tip: We use the DJI Action 4 to film our vlogs — compact, durable, and perfect for capturing every adventure.
Leaving Frances Domos
This morning, we woke up to the sound of rain at around 8am. We had planned to enjoy breakfast with a lake view, but the rain was too heavy, so we had to retreat back into the dome.
Once we finished eating, we packed our gear and prepared to head out. By that time, there was no more hot water in the showers—so if you’re hoping for a warm morning shower, be prepared that it might not always be available!

Tip: We hike with Osprey backpacks and can’t recommend them enough — the Talon 44 and Tempest 40 are comfortable, durable, and great for any adventure.
Trail Frances to Los Cuernos
Frances to Los Cuernos
We set off at 9:10am and arrived at Los Cuernos by 10:25am. The trail had a few ups and downs, but overall, it was manageable. With the rain pouring down on us, our main focus was just moving forward.

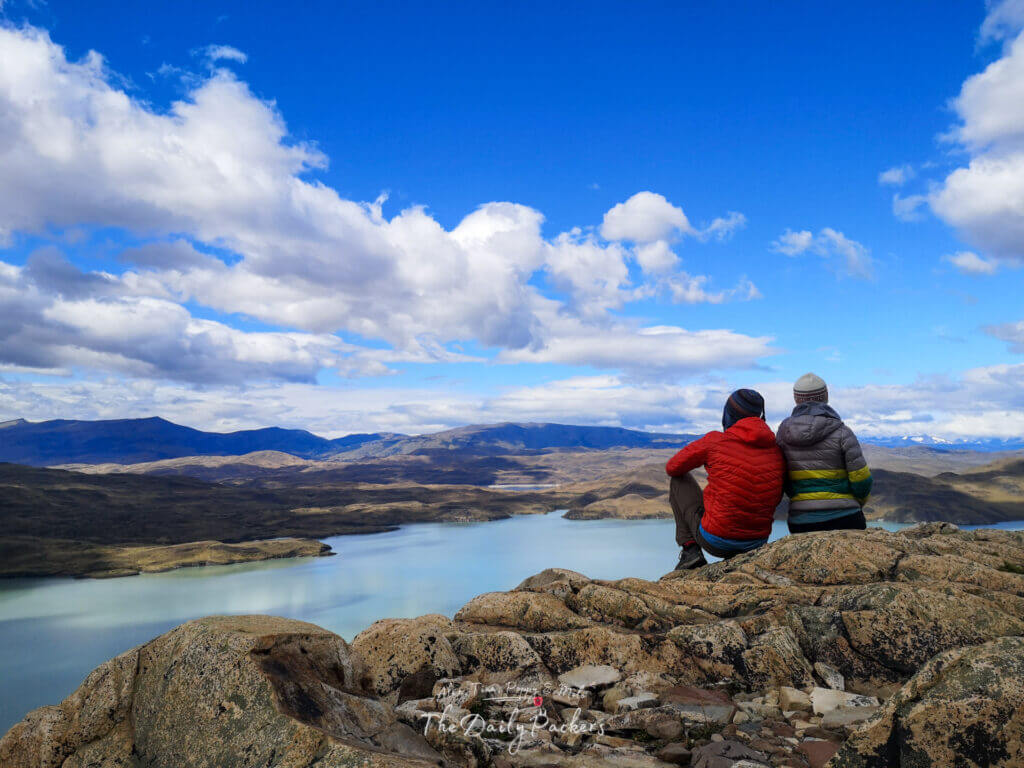
Not long after leaving Frances, we reached a stunning rocky beach along the lake. Even under the gray skies, it was a beautiful sight—on a clear day, it would have been an incredible spot to take a break and soak in the views!

Tip: We use the DJI Action 4 to film our vlogs — compact, durable, and perfect for capturing every adventure.
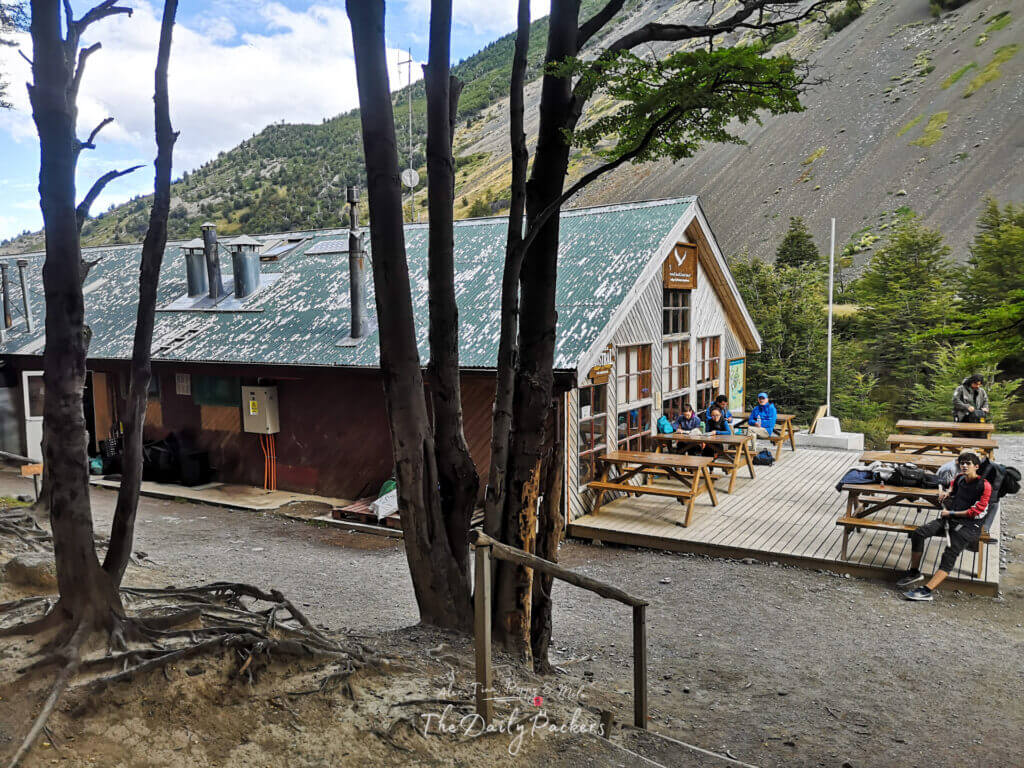
Los Cuernos
Los Cuernos offers a shelter, cabins, and a camping area. To continue on the trail, you’ll need to pass through the shelter and camping area. Once you climb uphill beyond the campsite, you’ll spot the small cabins—an incredibly scenic place to stay, with a beautiful view of the surroundings!

If needed, the camping toilets are open and available for use.

Trail from Los Cuernos to Chileno
Los Cuernos to Chileno intersection
From this point on, the trail mostly follows the lake, with continuous ups and downs, but it rewards hikers with stunning views. There are plenty of scenic spots along the way to take breaks and soak in the landscape.

By the time we were further along, the rain had stopped, and the sun came out, making the hike even more enjoyable. We took two long breaks—one for lunch and another just to relax and take in the view.

At 4:40pm, we reached the intersection where the trail splits between Chileno and Central. It’s well-marked with signs, so missing it isn’t an issue.

Intersection to Chileno
At first, we had doubts about whether we were on the right trail. There were barely any other hikers—just a group of four Italians and one Korean traveler. Plus, after the crossroads, there were no more signs, which made us second-guess ourselves.

Still, we pressed on, hoping for the best. This section turned out to be the hardest part of the day. Maybe it was because our knees were getting increasingly painful, but there was also a particularly steep uphill stretch that made the climb challenging.

That said, it wasn’t impossible, and step by step, we made our way to Chileno, arriving at 5:15pm.

Read: All our gears and equipments for hiking, blogging, vlogging and so much more…
Chileno
Tonight, we are staying at the Chileno campsite, which is uniquely built on platforms due to its location between a river and a mountain. This is the smallest of all the shelters we’ve stayed at, and the tents, while decent, are noticeably smaller compared to other campsites in Torres del Paine.

One of the biggest inconveniences of Chileno’s setup is that the campsites are uphill, making it a bit of a hassle to reach the bathrooms, especially at night.
That said, if you enjoy the sound of rushing water, you’re in for a treat—the large river next to the campsite provides a loud, constant natural soundtrack!

Camping area
The Chileno campsite is set in a cliffside area, with a mountain on one side and a rushing river on the other. Due to the challenging terrain, wooden platforms have been built to accommodate the tents, as camping directly on the ground wouldn’t be possible here.
The provided tents are basic two-person tents, offering enough space but nothing extra.

As for sleeping gear, the sleeping bags are high quality and designed for temperatures as low as -17°C, ensuring warmth even on cold nights. However, no pillows are provided, so bringing your own or using extra clothes as a pillow might be a good idea.
One important thing to note: the sound of the river is constant throughout the night—for some, it’s soothing, but for light sleepers, earplugs might be helpful.

Bathroom
The bathrooms are located behind the shelter, and since the camping area is on a mountainside, you’ll need to walk downhill to the shelter to access them. This can be a bit inconvenient, especially at night or in bad weather.
There are two showers and two toilets available for both men and women. Soap and shampoo are provided in the showers.

Initially, we noticed signs indicating that you need to pay for WC and showers, but this only applies to day visitors. If you are camping at Chileno, you can use them freely at any time.
Hot water is available 24/7, so no need to worry about cold showers!

Tip: We use the DJI Action 4 to film our vlogs — compact, durable, and perfect for capturing every adventure.
Kitchen
There is no kitchen area, meaning you cannot use any gas stove at Chileno. Additionally, there is no dedicated shared area for campers.
Inside the shelter, there are a few tables, but they are mostly used for serving meals to guests who booked dinner. Outside, there are some additional tables, but since they are exposed to the elements, they are not ideal in bad weather. The night we stayed, it was raining, which made things quite uncomfortable.
For drinking water, there is a tap on the side of the shelter. Hot water is available for free inside the shelter—just ask at the counter.
Rooms
The rooms at Chileno Shelter are small compared to other refuges in Torres del Paine. Each room contains three double bunk beds, accommodating up to six people.

Each bed has a personal light and a USB port for charging devices. There is also a small area to hang wet towels or clothes, but no dedicated storage space within the room.
Additionally, each room has a window, allowing for some natural light and ventilation.

Inside Bathroom
The bathrooms at Chileno Shelter are separate for men and women. Each has three toilets and three showers, providing adequate facilities for guests.

There is 24/7 hot water, ensuring a comfortable shower experience at any time.

Dining area & Bar
The dining area is located in front of the shelter, right where the reception is.
The bar also functions as the reception desk, making everything in this shelter feel more compact and efficiently organized.

Shop / Minimarket
There is only a small survival shop located within the reception area of the camping. While you can find a few basic items, it’s best not to rely on it. Make sure to arrive prepared with everything you need.

Luggage drop
During the day, you can store your luggage in the shelter, which has a designated storage area. This service is only available for guests staying at either the shelter or the camping.

Read: The Ultimate Torres del Paine hiking guide, 5-day W-Trek
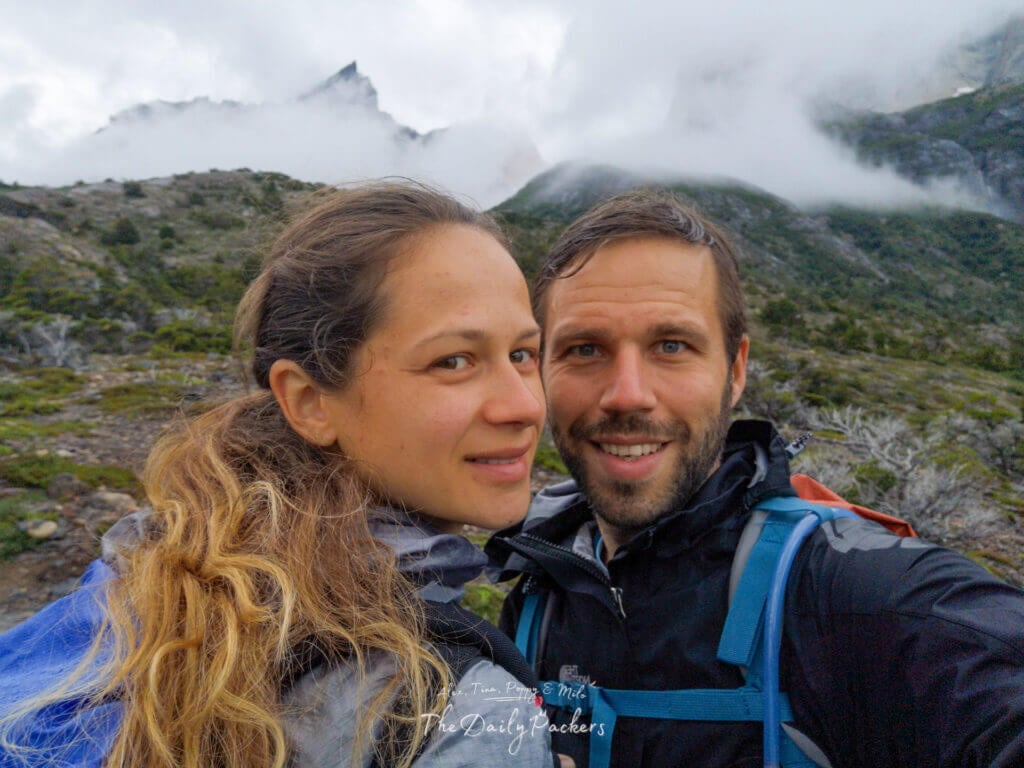
About the authors
We are Alex and Tina, a French-Serbian couple who met in China back in 2014. We spent three incredible years there before making France our home. Our shared passion for travel has been the heartbeat of our relationship for over 12 years, taking us across 44 countries and counting.
We launched TheDailyPackers in 2019 as a way to document our adventures. In 2026, we reached a major milestone by officially turning our blog into our full-time job. While we are still growing toward financial independence through this platform, every article we write is fueled by our mission to make your voyages easier through in-depth guides, honest advice, and the lessons we’ve learned from our own mistakes.
Our journey has not been without its storms. In 2023, our world changed forever when our first son, Poppy, was stillborn on November 25th. It was, and remains, the hardest chapter of our lives. In 2025, we were blessed with our second little boy, Milo. He has since joined our traveling tribe, and you’ll be seeing him—and the reality of traveling with a little one-on the blog more and more.
We hope to inspire you to explore the world with curiosity and resilience. Thank you for being part of our story.
You may also like those related posts
The Mezquita of Cordoba: Spain’s Most Iconic Monument
12 Best Things to do in Chiang Rai, Thailand, in 3 to 4 days
How to Get From San Rafael to Bariloche by Bus
The Perfect 2-week Cuba itinerary for first-timers
Machu Picchu: How to Plan the Perfect Trip to Peru’s Icon
How to get from Puerto Natales to Ushuaia by bus
25 best things to do in Jerusalem, Israel, in 3 to 5 days
8 Best things to do in Balneário Camboriú, Brazil, in 2 days
Pssst, did you know that…
If you purchase something through our links, we earn a small fee. However, you still pay the same. Win-win! And one day we may get to be full-time travel bloggers =)
Find Hotels with Booking.com
Do Yoga with KVY
Buy us a Coffee
Rent a car with DiscoverCars
Find Attractions with GetYourGuide
Find Flights with Expedia
Buy an eSIM with Airalo
Get insured with World Nomads
Get ready with Amazon.com