Introduction: W-Trek Day 1
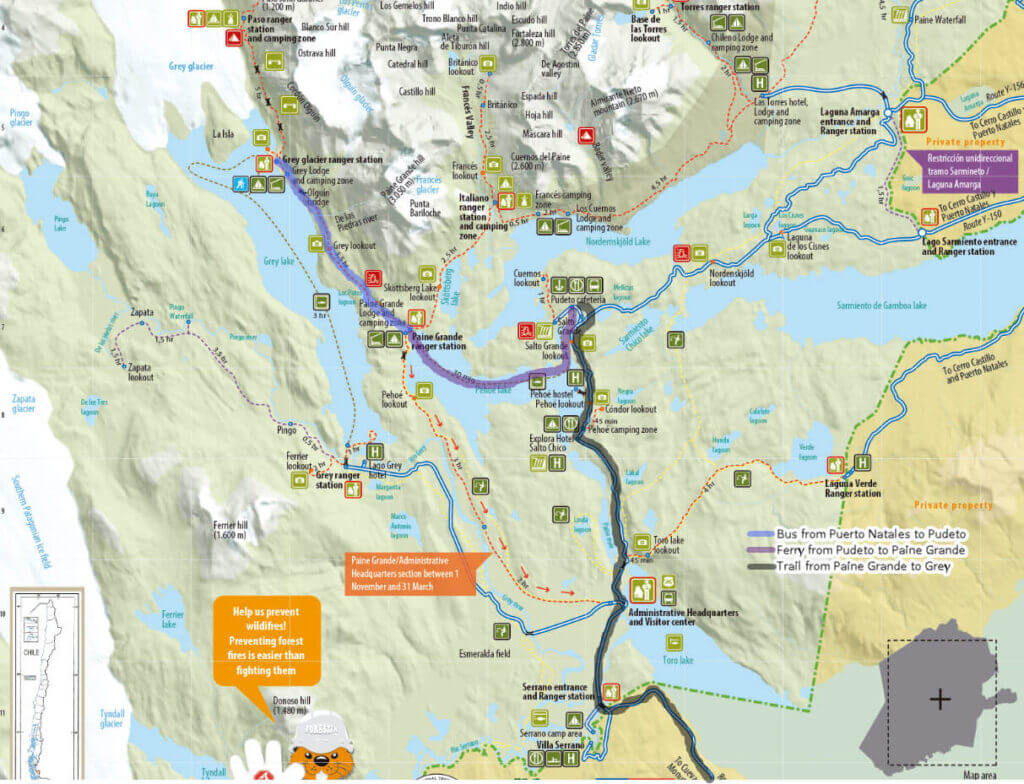
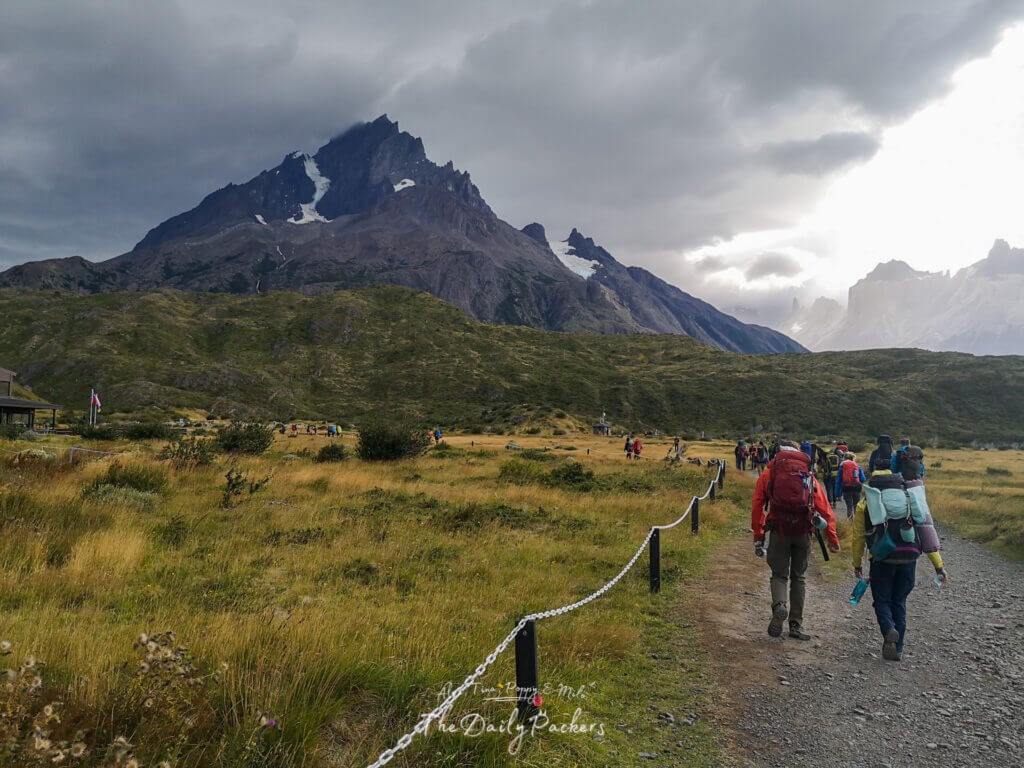
Today, we embark on our Torres del Paine W-Trek Day 1 adventure, starting with a bus ride from Puerto Natales to the national park. From Pudeto, we’ll take a scenic catamaran across Pehoé Lake to reach Paine Grande, where our trek officially begins.
We’ll then hike 11km through breathtaking Patagonian landscapes to Grey, where we’ll spend the night. This guide will detail the W-Trek Day 1. If you are looking for other stages, we’ve got you covered:
- W-Trek Day 2: From Grey Glacier to Paine Grande
- W-Trek Day 3: From Paine Grande to Frances
- W-Trek Day 4: From Frances to Chileno
- W-Trek Day 5: From Chileno to Central
- Torres del Paine Guide: The Best 5-day W-Trek
Trail Stats at a Glance
Today, we follow the W-Trek from Paine Grande to Grey Shelter/Camping
- Distance: ~11 km
- Highest Point: 820m
- Lowest Point: 143m
- Elevation gain: +400m, -370m
- Estimated Time: 4 hours
- Difficulty: Easy
- Required Booking: Room or camping spot at Grey Glacier
- Best Time to Start: 6:40 am from the bus station in Puerto Natales
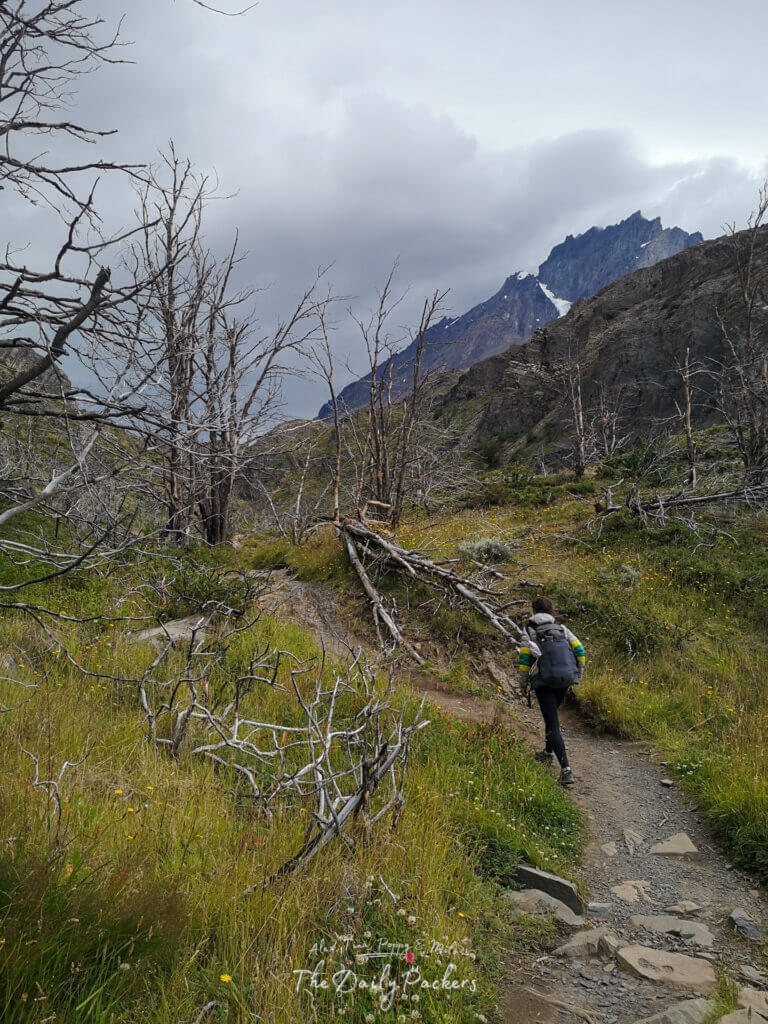
For us, this isn’t the most beautiful trail in the park, as you will be hiking through a dead forest. However, the part after Grey Glacier going toward the O-Trek is beautiful. We recommend doing it the next day before heading back to Paine Grande.
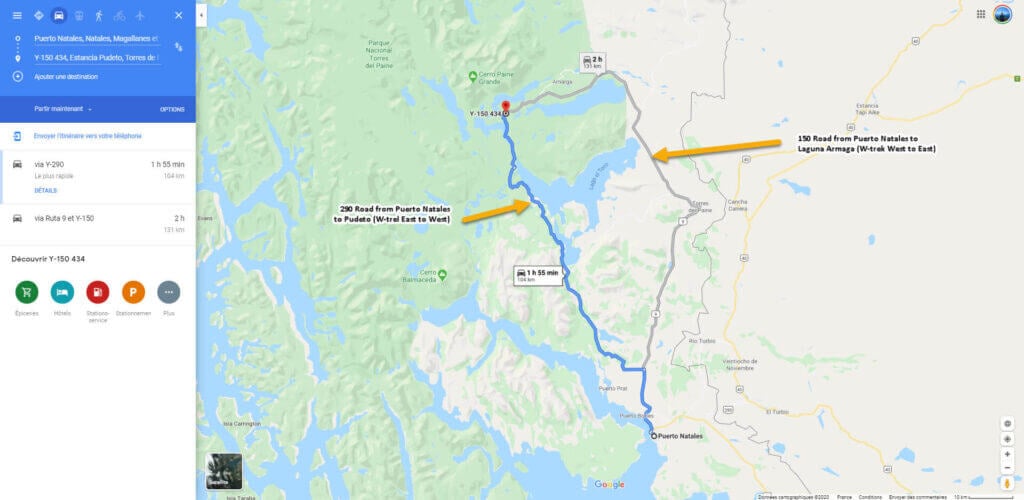
Mapping the W-Trek Day 1
Buying the bus ticket
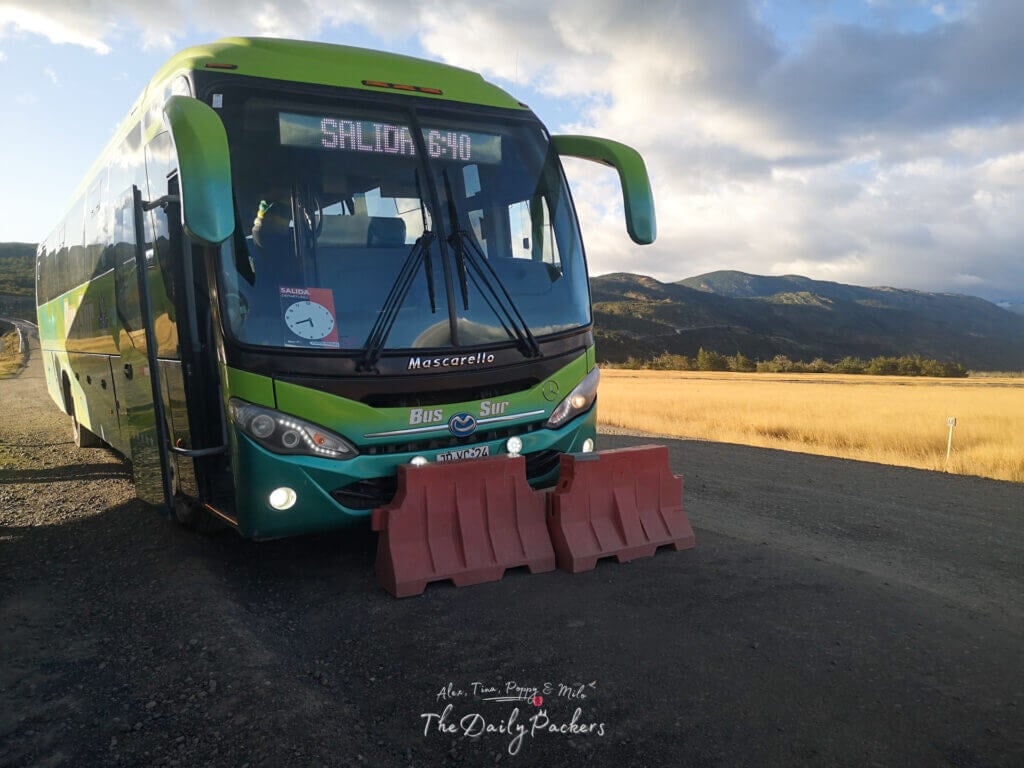
We arrived in Puerto Natales the day before our trek, around 1:30 pm. As soon as we arrived at the bus terminal, we headed straight to the ticket office and inquired about the buses to the park the next day with Bus Sur, which offers two morning departures:
- 6:40 am to Pudeto (for those heading to Paine Grande)
- 7:00 am to Laguna Amarga (for those starting at Central)
We booked two seats on the 6:40 am bus and also purchased our return tickets for six days later, choosing the 6:30 pm return bus. The round-trip fare was 30,000 CLP (€33.50) = 7,500 CLP (€8.40) per ticket each way. Today, the cost is between 12 and 15€ per ticket.
You can get your ticket directly at the bus terminal in Puerto Natales, online on the Bus Sur website, or on 12GO, our go-to website for bus tickets.

Getting to Torres del Paine
Bus
We woke up around 5:00 am to finish packing our bags, leaving behind anything we didn’t need at our accommodation. After a quick breakfast, we left at 6:00 am and walked to the bus terminal.
Getting to Torres del Paine
- We arrived at the bus terminal at 6:20 am. It was still closed, but several other hikers were already waiting.
- After a while, the terminal opened, and we boarded our Bus Sur. It was the first bus to depart, stationed on the left side of the platforms.
- The Bus Sur office opened at 6:30 am, and our bus departed around 6:45 am.

The road was mostly dirt and bumpy at times, but the bus was comfortable, equipped with USB chargers and a WC.
At 8:10 am, we made a quick 5-minute stop for pictures. By 8:25 am, we reached the park entrance ticket office, where we had to buy our entrance tickets and register.
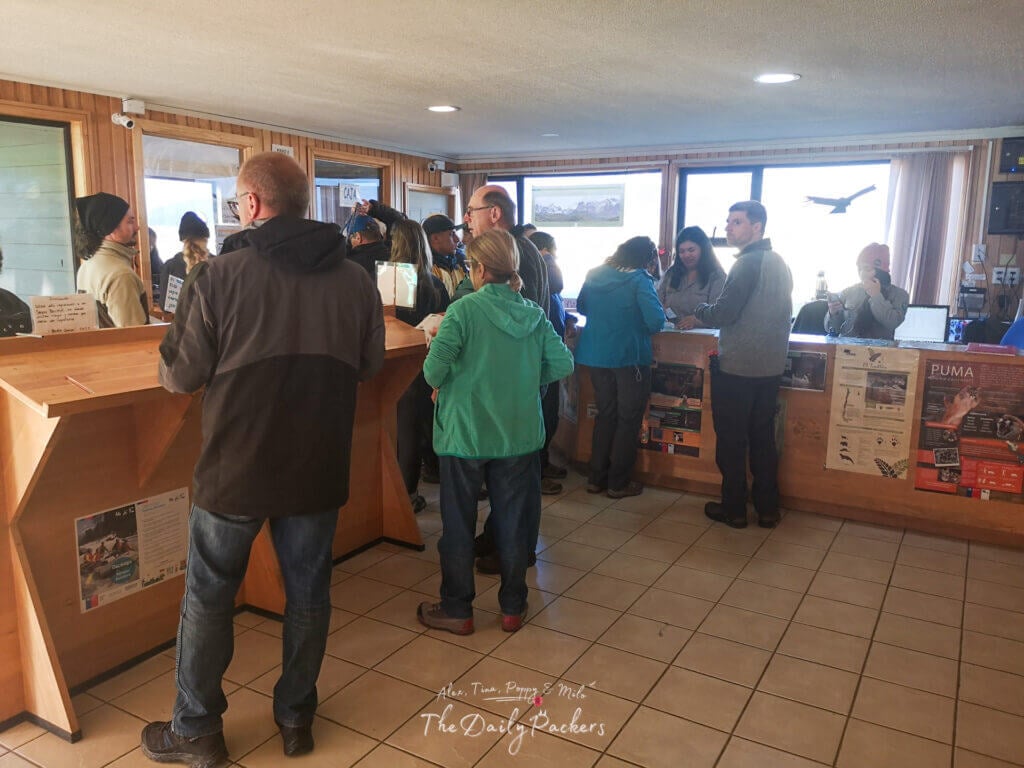
Entrance Process & Fees
- Fill out a registration form
- Pay the entrance fee → 35,000 CLP (€39) per person in 2020 (for stays longer than 3 days), 46,200 CLP (50 USD) in 2025.
- Receive a map and an approval stamp
Once everyone had completed the process, we boarded the bus again. By 8:40 am, we reached the park administration, and at 9:05 am, we arrived at Pudeto, just in time to watch the 9:00 am ferry depart without us!

Where to stay to hike Torres Del Paine
You have 2 main options for where to stay before hiking in Torres Del Paine National Park. You can either stay in Puerto Natales, which is the budget option. In that case, we would recommend staying at:
- Budget: Puma House
- Mid-Range: Toore Patagonia
- High-Range: Hostal Boutique Factoria Patagonia
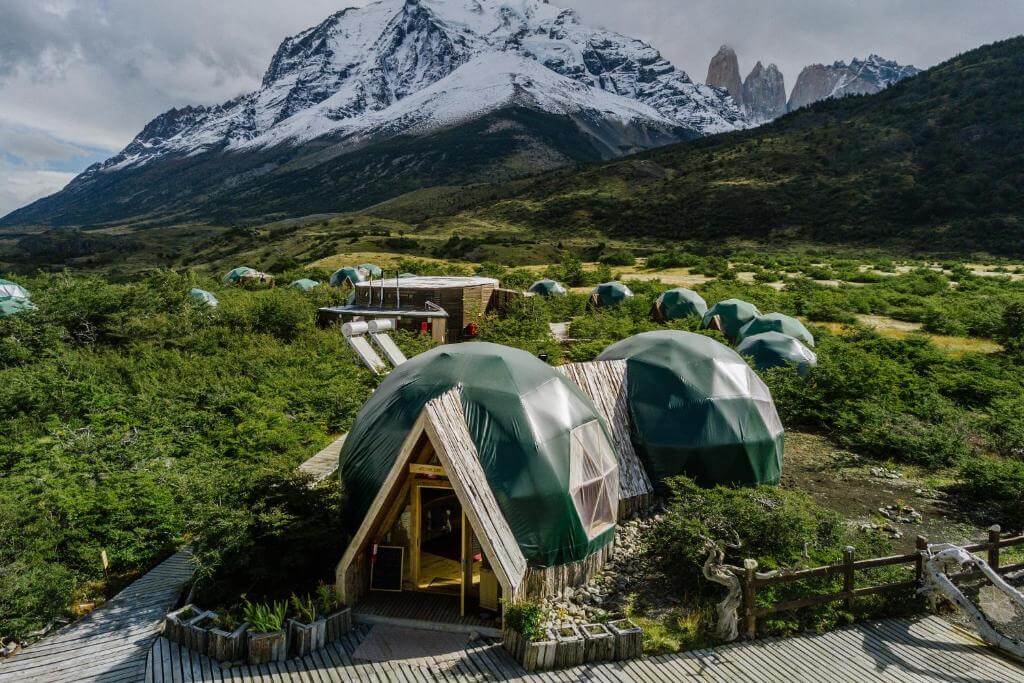
Or you can stay directly in the national park, which has some amazing and unique options, such as EcoCamp Patagonia. Located in the heart of Torres del Paine National Park, EcoCamp Patagonia offers a truly unique stay in charming geodesic domes inspired by the region’s ancestral dwellings. Or the Konkashken Lodge, where you can stay in beautiful cabins.
Here are all your hotel options in Puerto Natales, and here in Torres Del Paine
Ferry
What a shame… we just missed the 9:00 am ferry, watching it leave right in front of us. That meant a 2-hour wait for the next ferry at 11:00 am in 2020. In 2025, you have ferries at 8:30 am and 10:30 am.
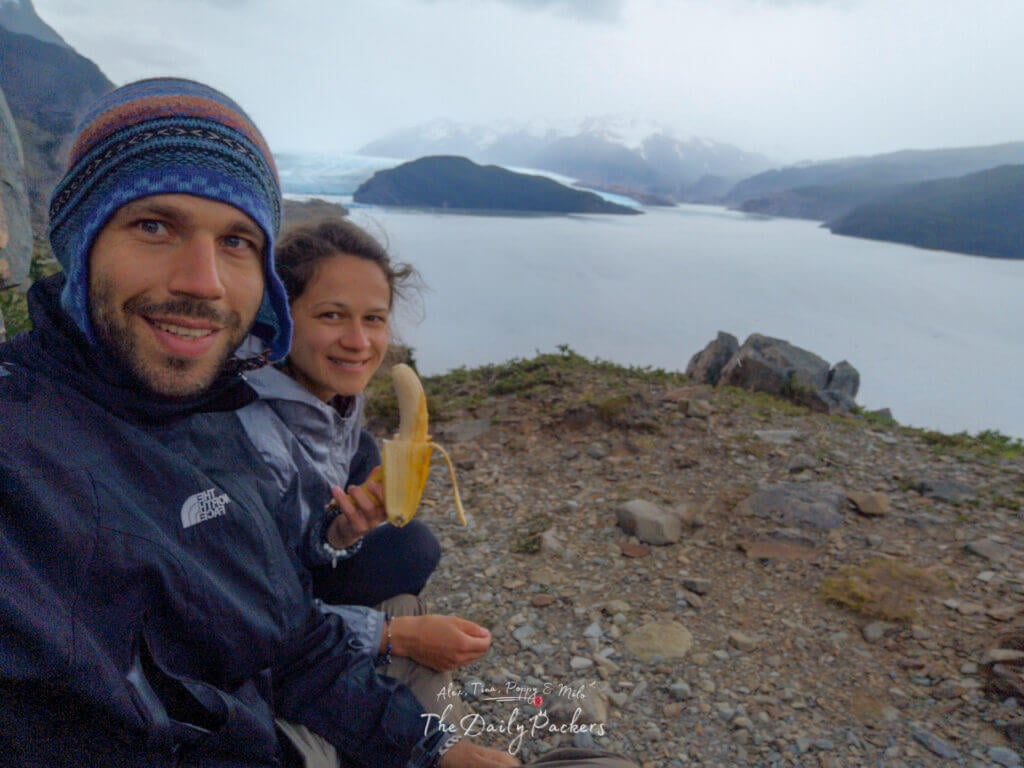
We made the most of this time by relaxing by the lake, having a snack, and using the WC. There was supposed to be a store or coffee shop at Pudeto, but it was closed.

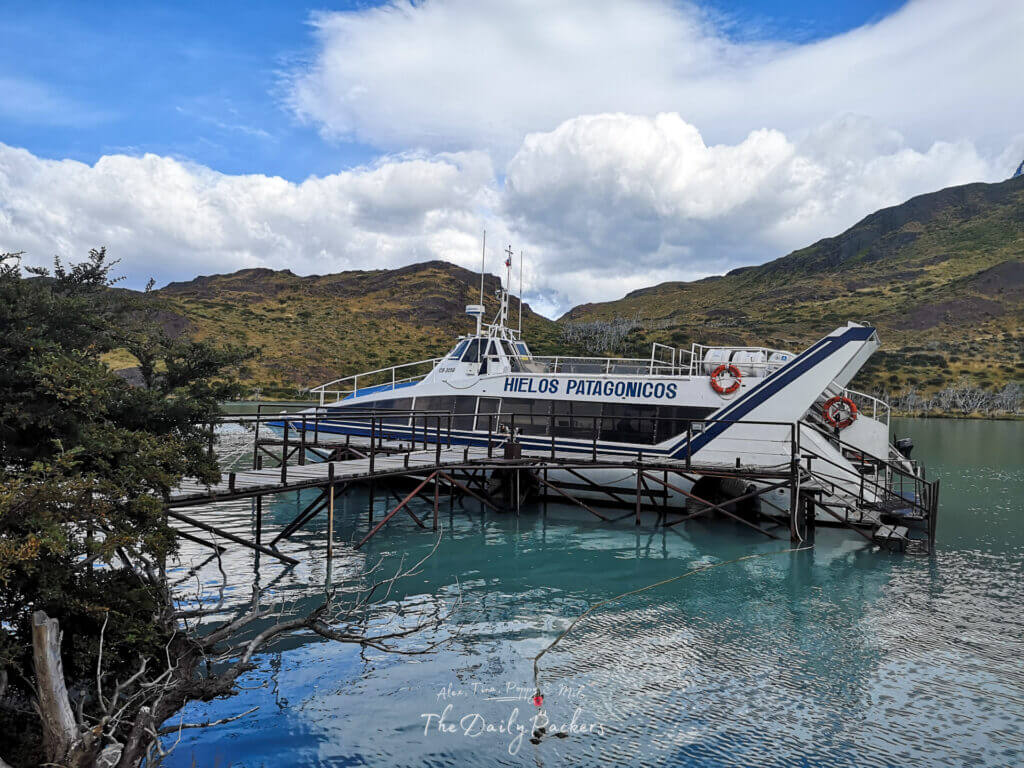
The ferry arrived around 10:15 am, dropping off passengers from the previous ride. Within 15 minutes, they started boarding the next trip, but by then a huge line had already formed, as at least four other buses had arrived.
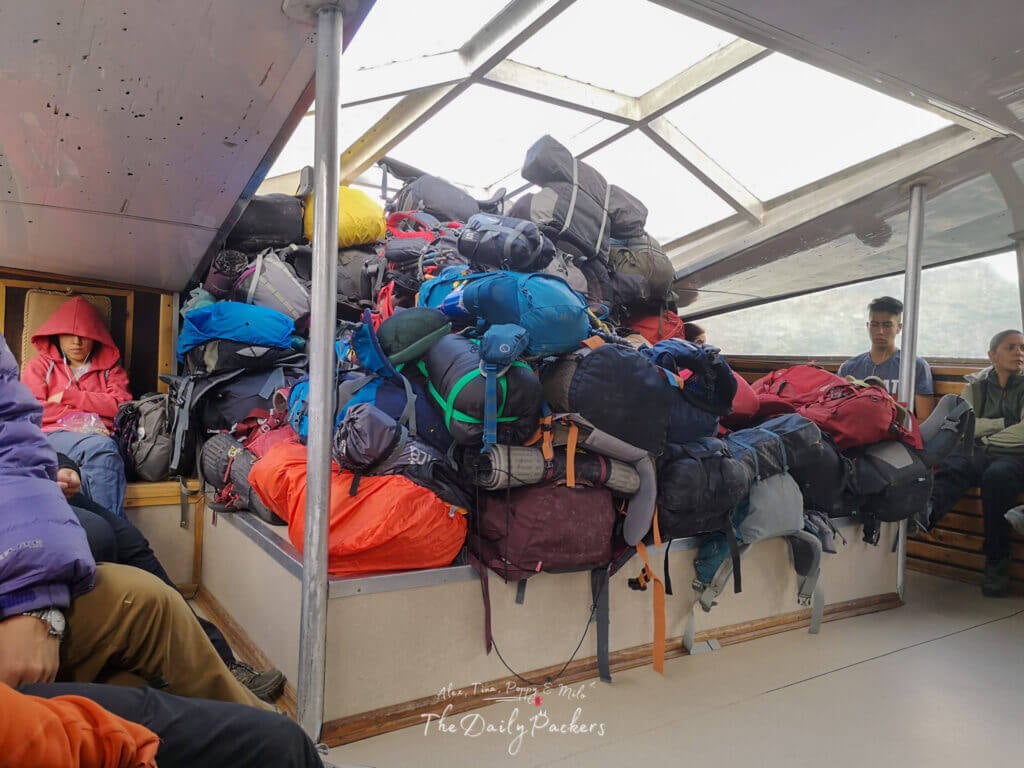
By 10:30 am, we were on board. We dropped our backpacks at the front and found seats. You can either:
- Sit inside on the lower deck, which is covered and enclosed (good if it’s windy).
- Sit on the upper deck, which offers better views but is open-air.
The ferry departed on time at 11:00 am, and during the ride we had to buy our tickets directly on board.
Ferry Cost
- in 2020: 23,000 CLP (€26) per person. 35 USD per person (cash only, no cards!)
- in 2025: 27,000 CLP (€24) per person. Bookable online.
At 11:35 am, we arrived at Paine Grande, where staff checked our tickets before letting us off.
Hiking from Paine Grande to Grey Shelter (11km)
Trail from Paine Grande to Grey Shelter
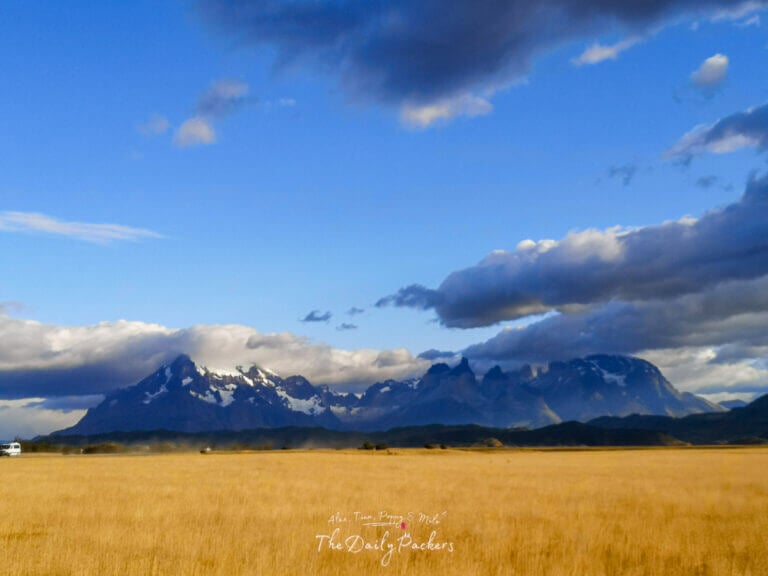
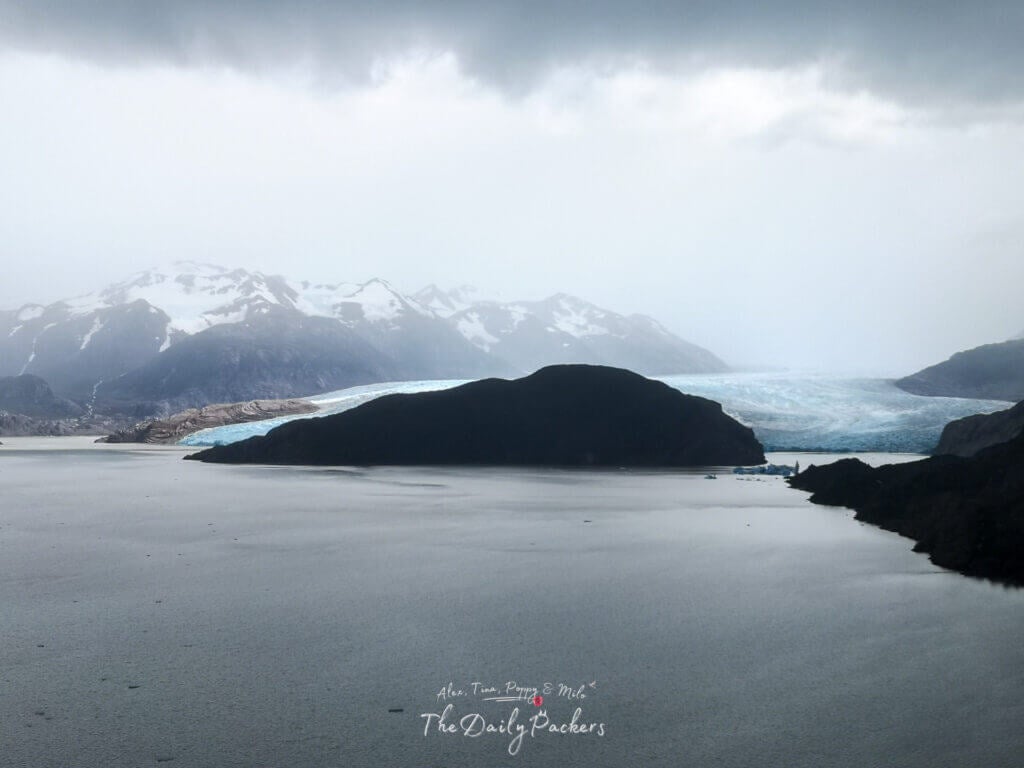
While we weren’t particularly impressed with the first part of the trail, the views of the lake with Glacier Grey in the distance were breathtaking. However, the trek itself wasn’t the most exciting compared to what we would experience later in the park.
We arrived at Grey Shelter around 3:45 pm. Just as we got there, it started raining, so we decided to stay inside and postpone visiting the viewpoint until the next morning, when the weather would be better.
While we weren’t particularly impressed with the first part of the trail, the views of the lake with Glacier Grey in the distance were breathtaking. However, the trek itself wasn’t as exciting as what we would experience later in the park.
We arrived at Grey Shelter around 3:45 pm. Just as we got there, it started raining, so we decided to stay inside and postpone visiting the viewpoint until the next morning, when the weather would be better.
Read: All our gears and equipments for hiking, blogging, vlogging and so much more…
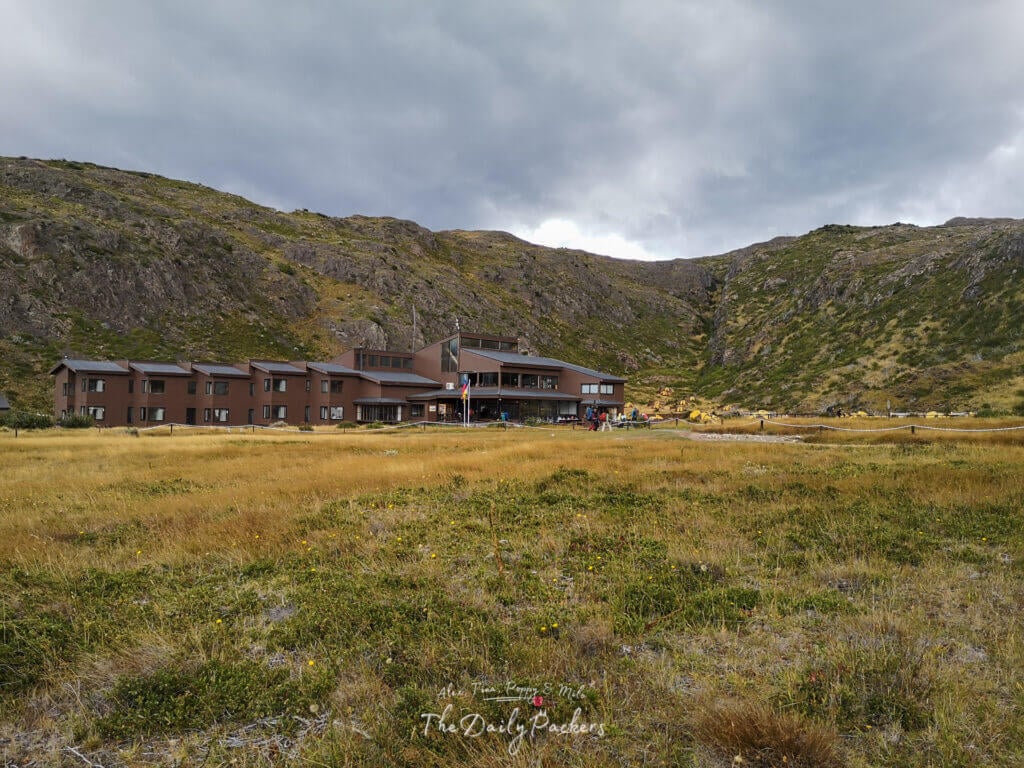
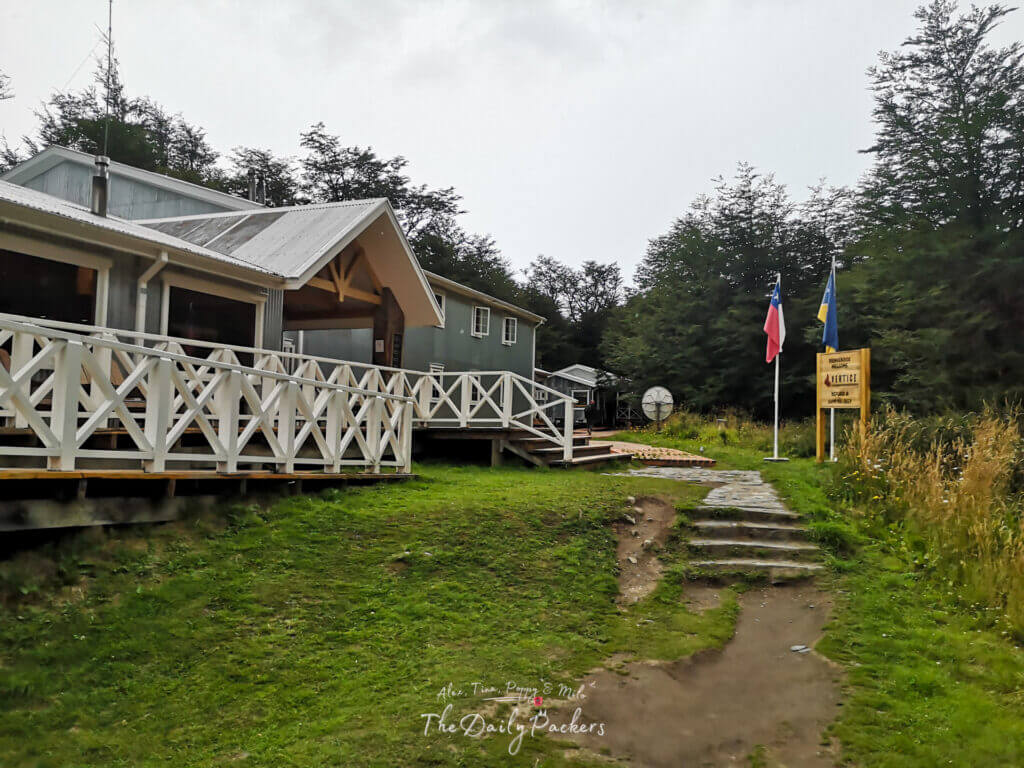
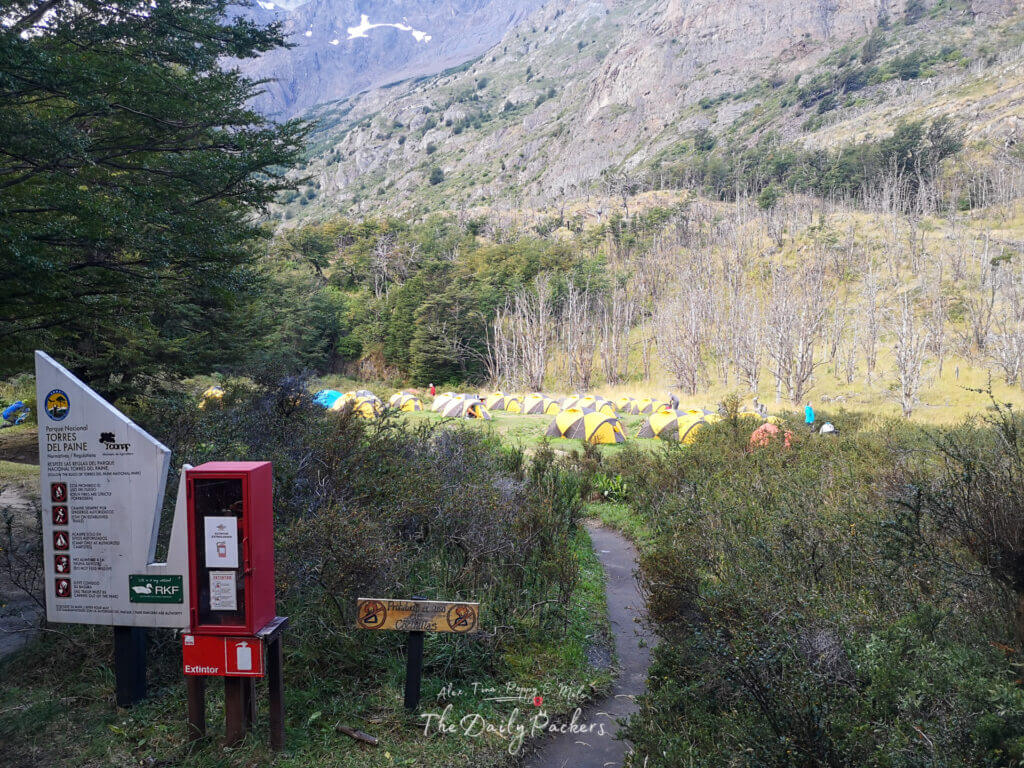
Grey shelter
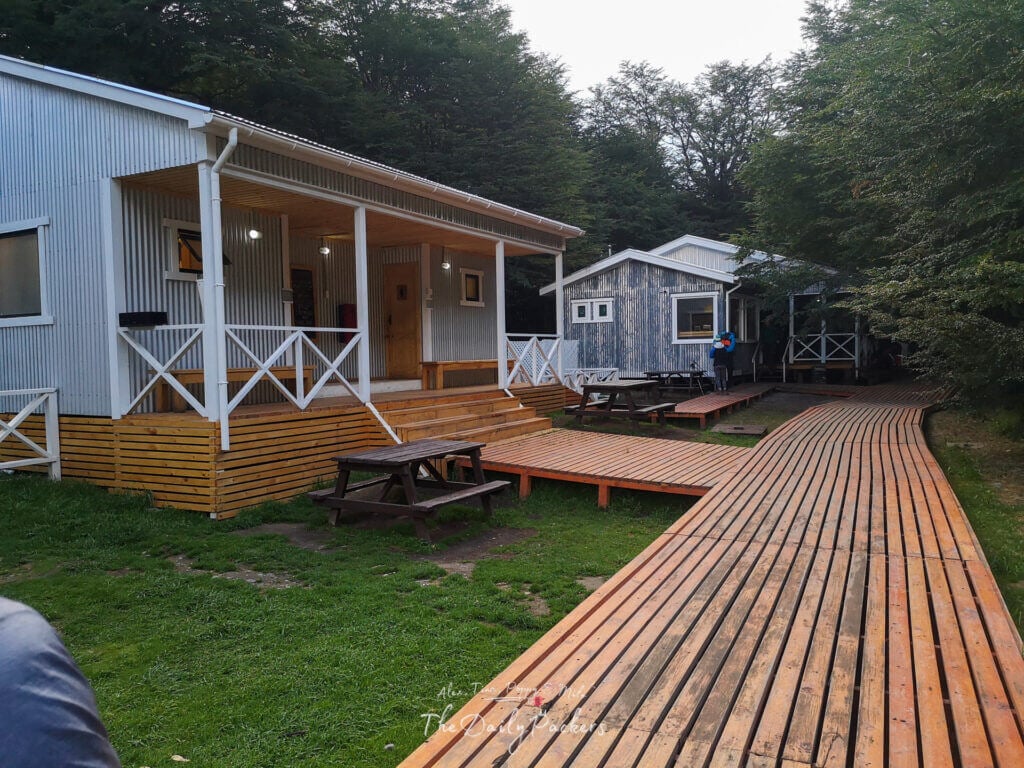
Grey Shelter is located in the eastern part of the park, marking the end of the O-Trek and the starting point of the W-Trek. From what we saw during our five-day trek, Grey Shelter and Camping seemed to be the newest or at least recently renovated, making it one of the most comfortable stays in the park.
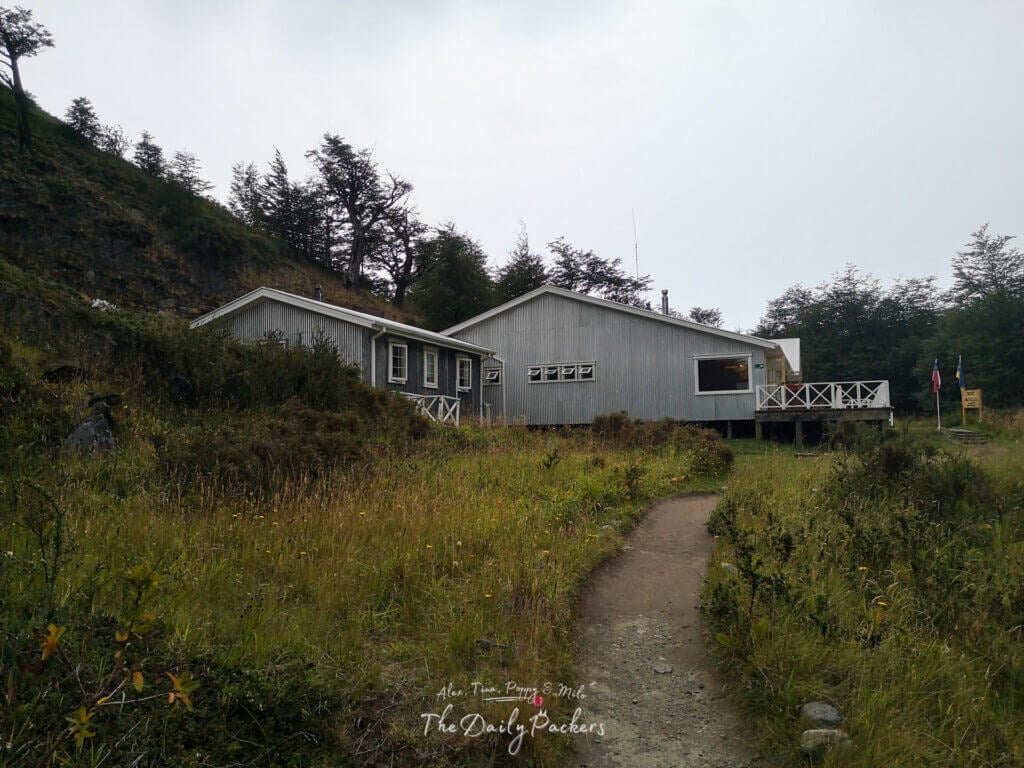
When we arrived, we checked in at the reception, where we had to provide our passports and PDI cards. Check-out was at 9:30 am the next morning. The shelter offers electricity and hot water until midnight, which was a welcome luxury after a long day of hiking.
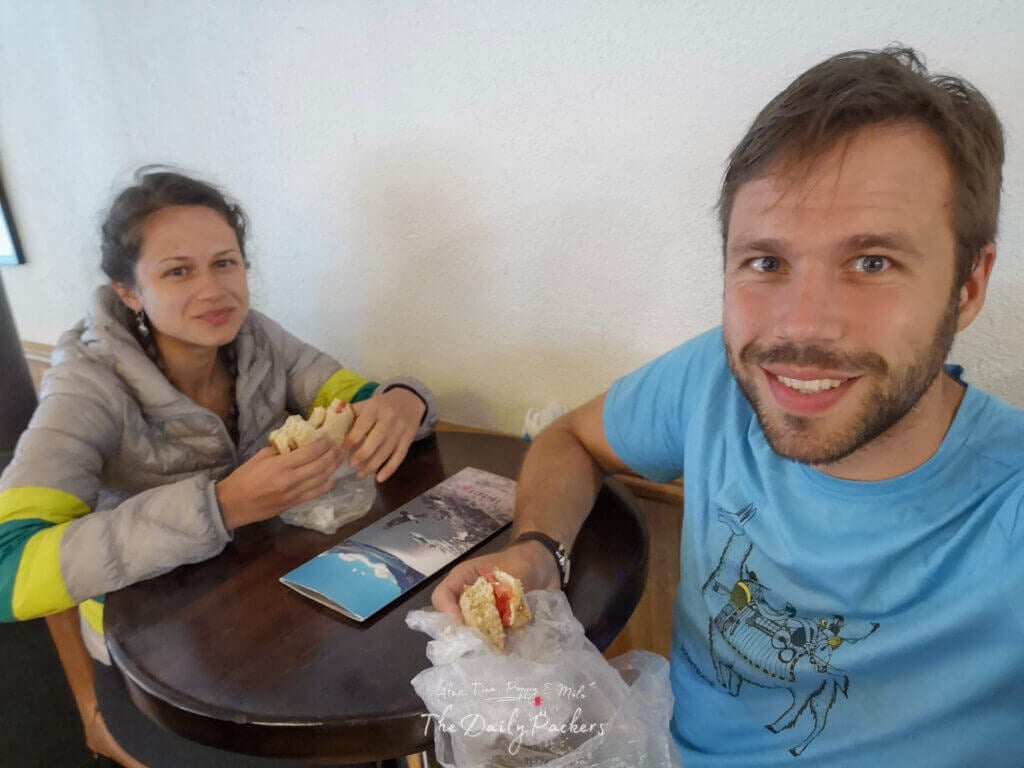
We headed to our shared room, which had six beds, but luckily, we only shared it with one other couple, making for a more comfortable night. Before settling in, we took a hot shower, charged our electronics, and relaxed in the bar area, where we had a simple dinner of Japanese peanuts and soy-tomato cheese sandwiches.
For campers, hot drinking water is available upon request inside the shelter, and there is also a luggage drop area at the entrance for those who need to store extra gear.
After a long day, we were grateful for the comfy beds and a warm place to rest before the next day’s adventure. For a full review of Grey Shelter and Camping, check out the next article!
Shelter/Refugio
General information
Check-in at Grey Shelter is available from 1:00 pm, and check-out is at 9:30 am the next day. The shelter provides electricity and hot water until midnight, making it a comfortable stop for trekkers on the W-Trek and O-Trek.
Tip: We hike with Osprey backpacks and can’t recommend them enough — the Talon 44 and Tempest 40 are comfortable, durable, and great for any adventure.
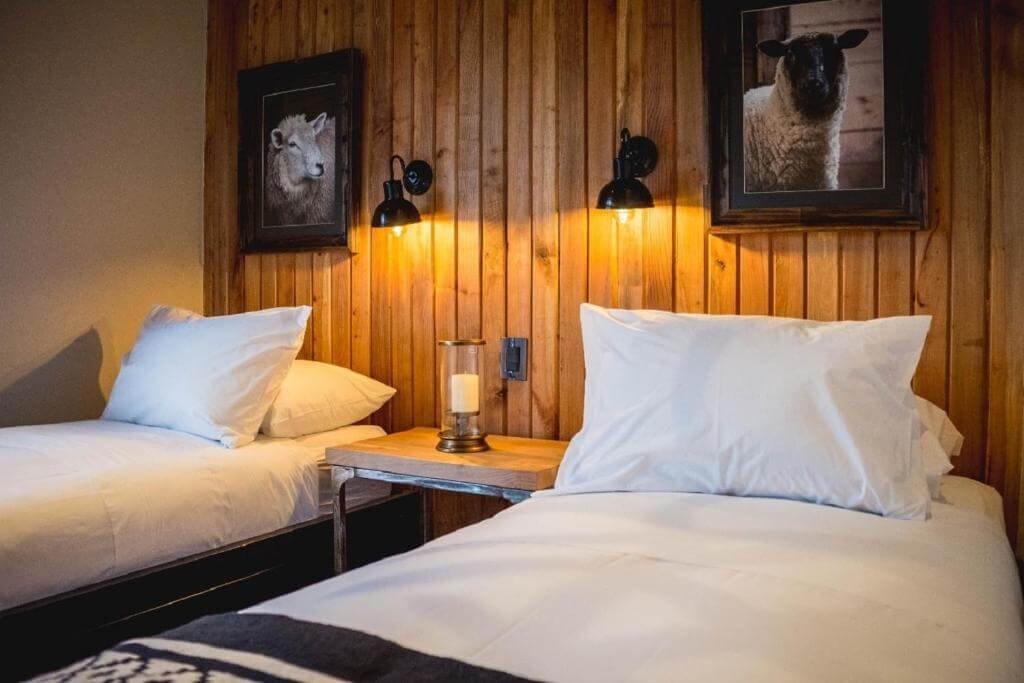
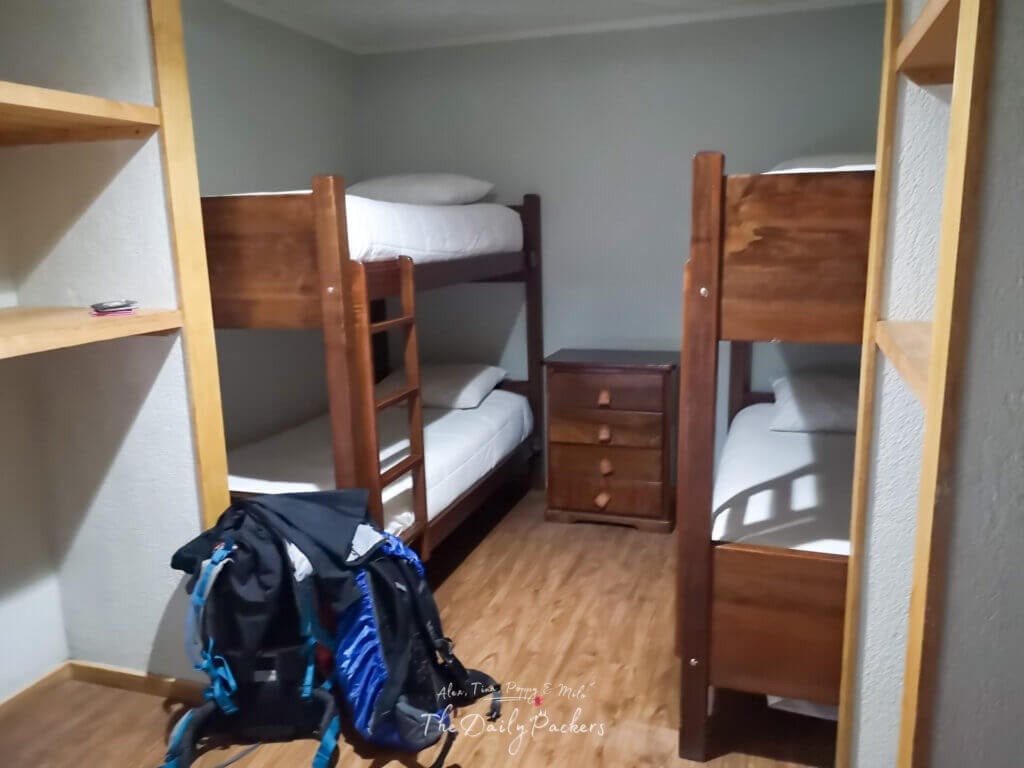
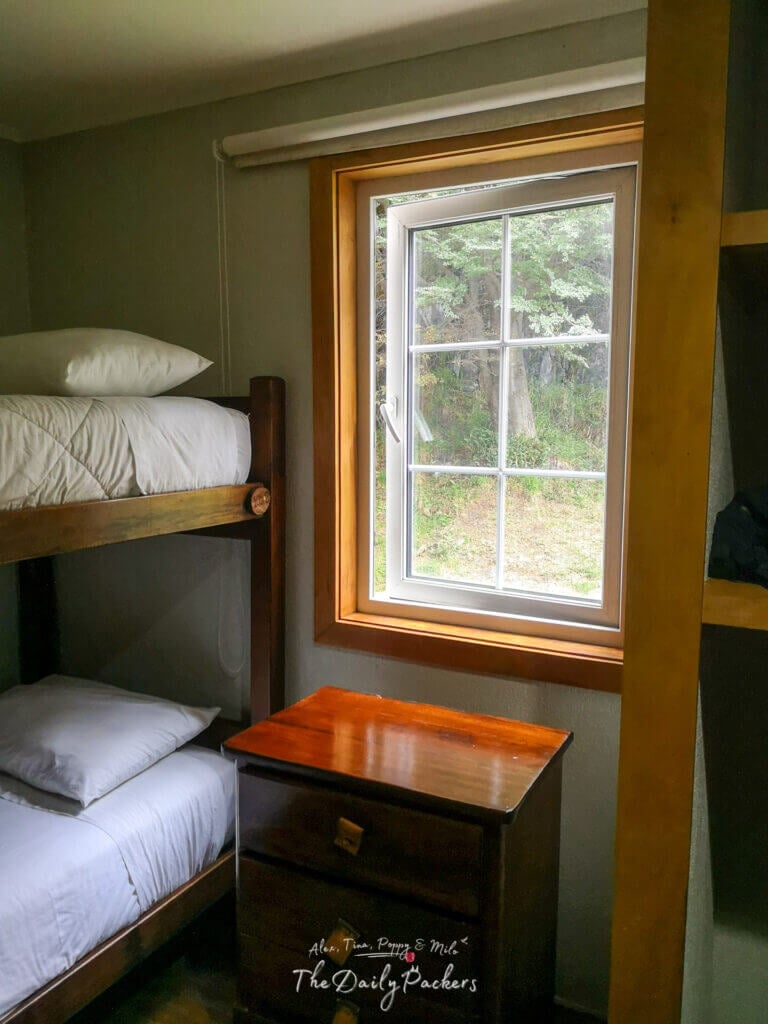
Rooms
There are two types of rooms available:
- 4-person rooms
- 6-person rooms

Each room has double bunk beds, an openable window, and individual storage shelves for each bunk. In the 6-person rooms, there are four 220V power outlets available for charging electronics.
There are no heaters in the rooms, but the beds come with clean sheets, a thick blanket, and a pillow for warmth. One improvement that would have been useful is individual reading lights for each bed.
Here are all your hotel options in Puerto Natales, and here in Torres Del Paine
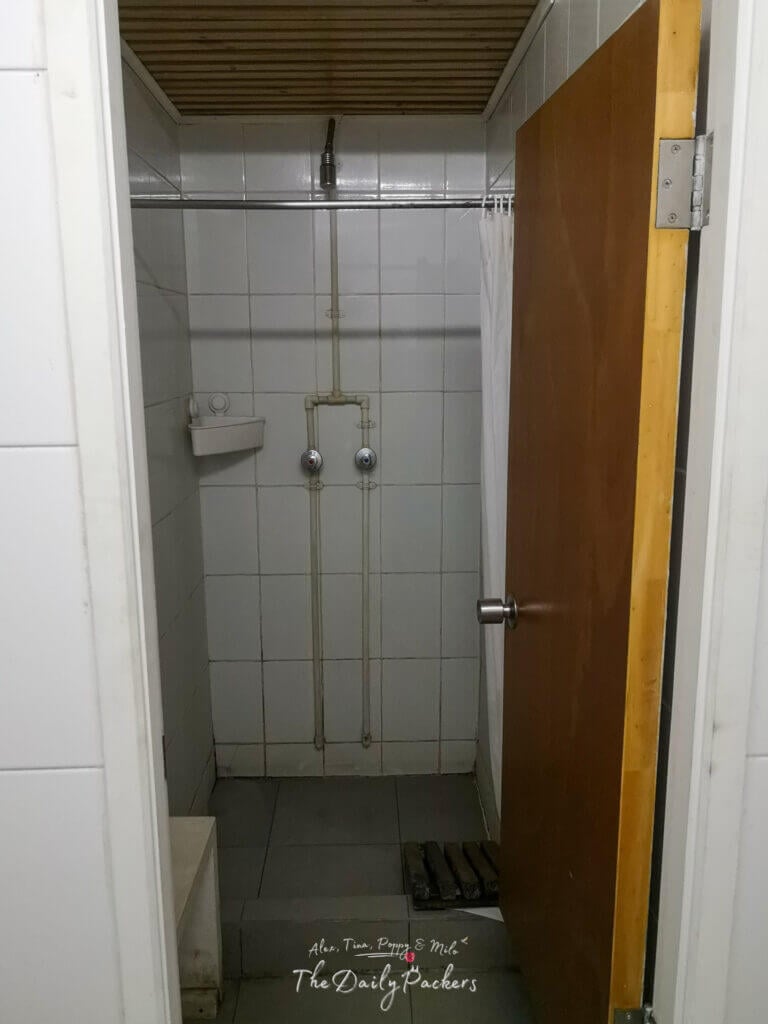
Bathroom
The bathrooms are separated for men and women. Each section includes:
- 3 toilets (plus 2 urinals in the men’s section)
- 3 showers
- 4 sinks
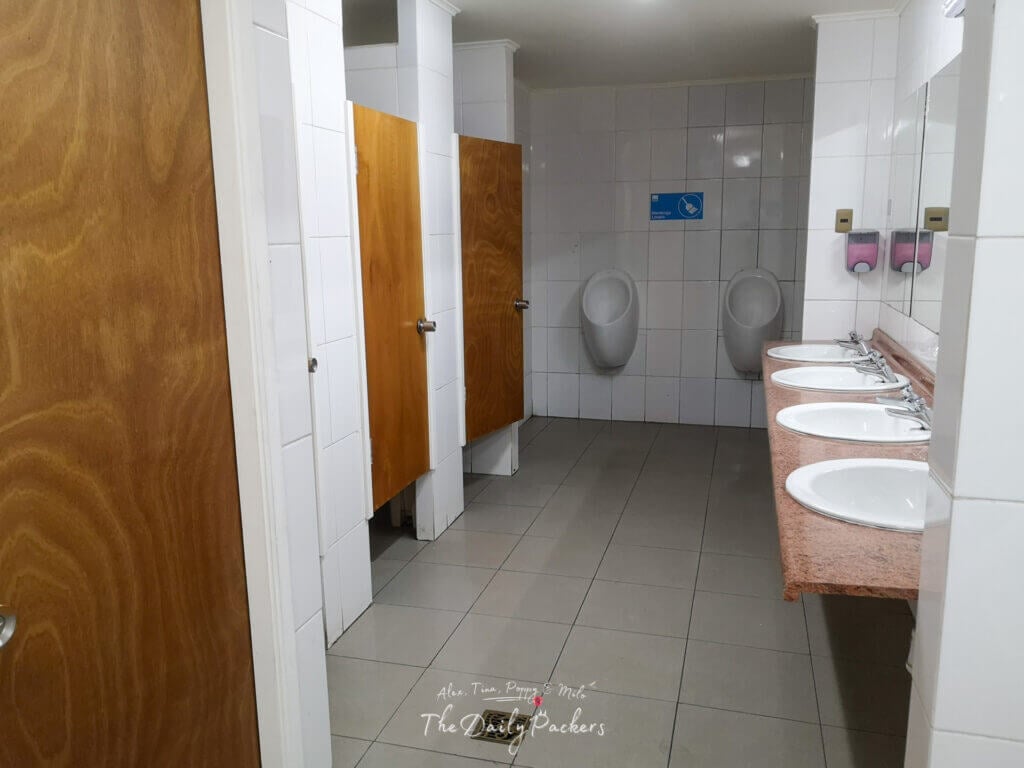
Toilet paper and drying paper are provided, but there is no soap in the showers, so be sure to bring your own toiletries.
Shared area
The shared area at Grey Shelter consists of:
- Four sofas for relaxing
- A bar area with tables
- A dining area
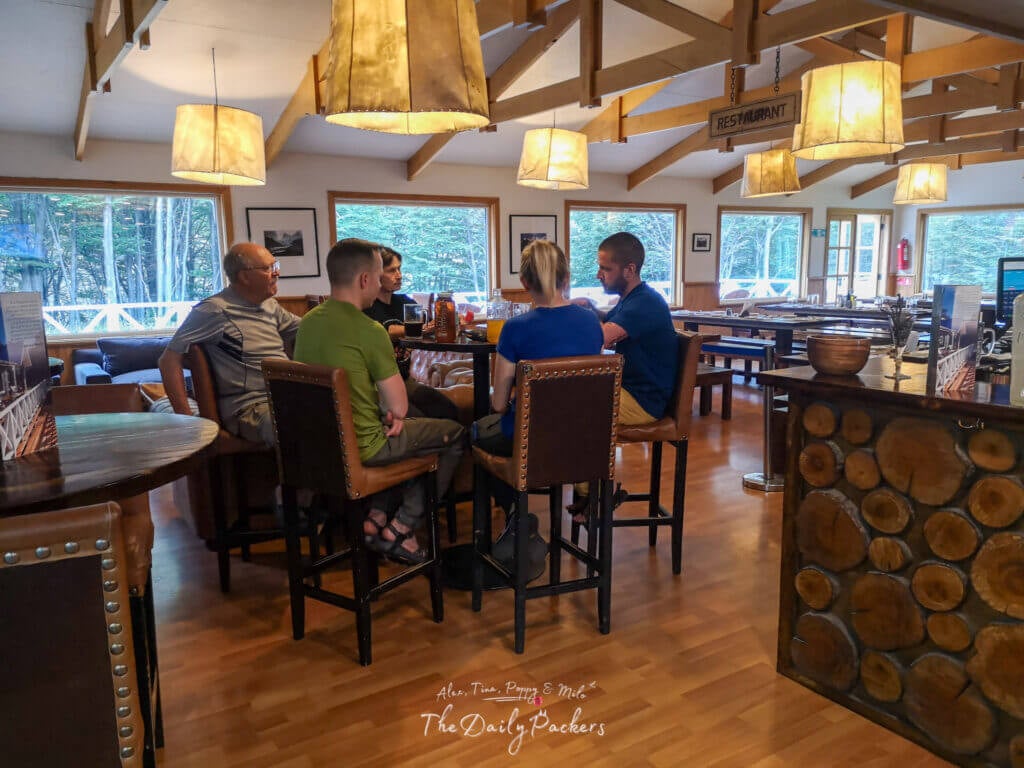
The setup is primarily designed for guests who purchase meals, but we managed to eat our own food without any issues.
Camping Grey
Even though we stayed in the shelter, we went over to the camping area to check out the facilities and see what it offered for those opting to camp.
Camping area
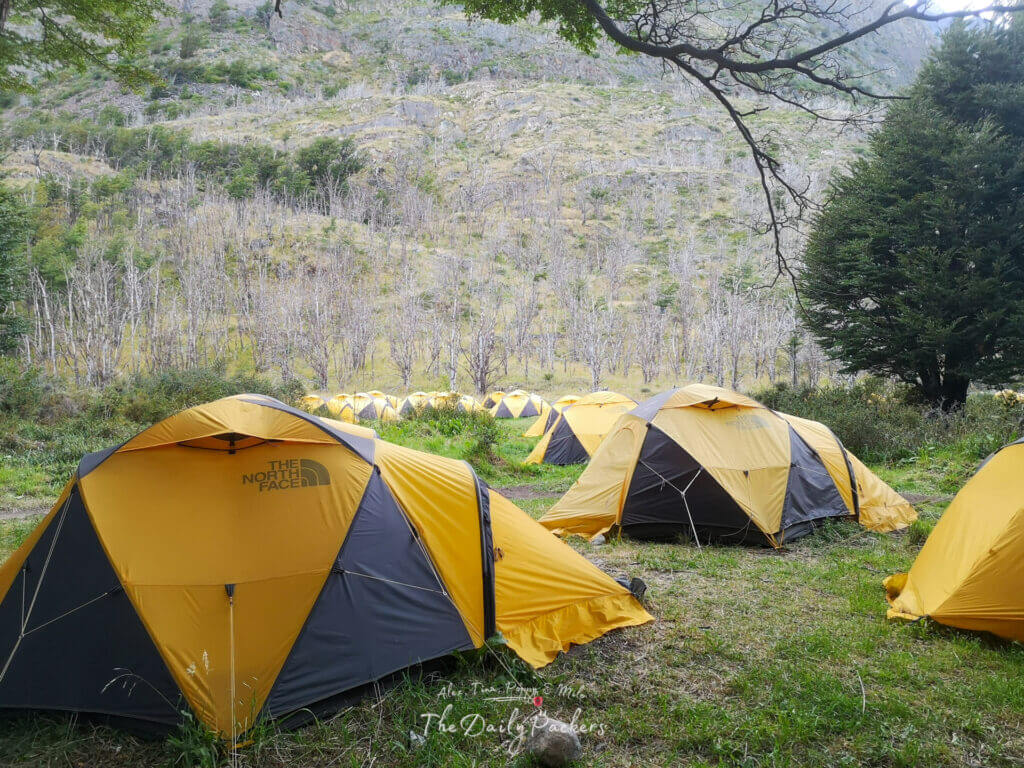
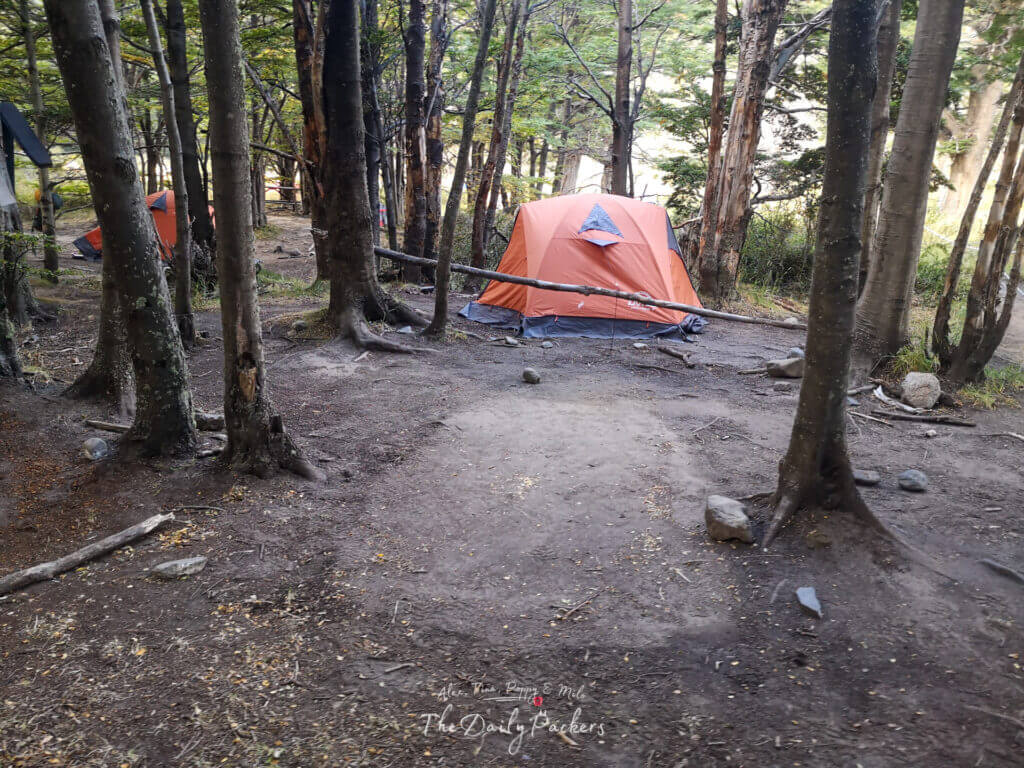
The camping area is set within the forest, with designated spots for tents, offering some protection from the wind. The provided tents are The North Face Summit Series, designed for three people, making them quite spacious if you’re sharing with just one other person.
The sleeping bags are high-quality, built for temperatures as low as -17°C, ensuring warmth during chilly nights. However, pillows are not provided, so bringing a small travel pillow or improvising with clothes is a good idea.
Bathroom
There are separate bathrooms for men and women in the camping area. However, we didn’t get the chance to check them out, so we can’t comment on their facilities or cleanliness.
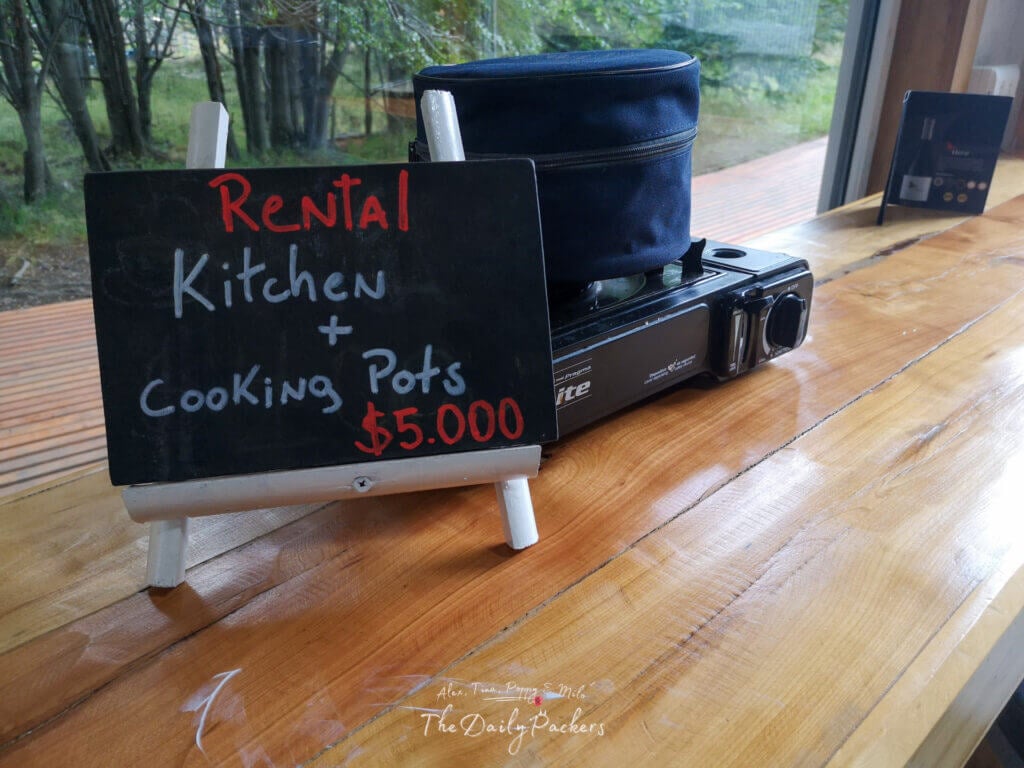
Kitchen
There is a designated kitchen area for cooking, with a gas stove. A seating area is available next to it and in front of it, providing a space to enjoy meals comfortably.
If you don’t have your own equipment, you can rent a stove and pot for 5000 CLP.
Tip: We use the DJI Action 4 to film our vlogs — compact, durable, and perfect for capturing every adventure.
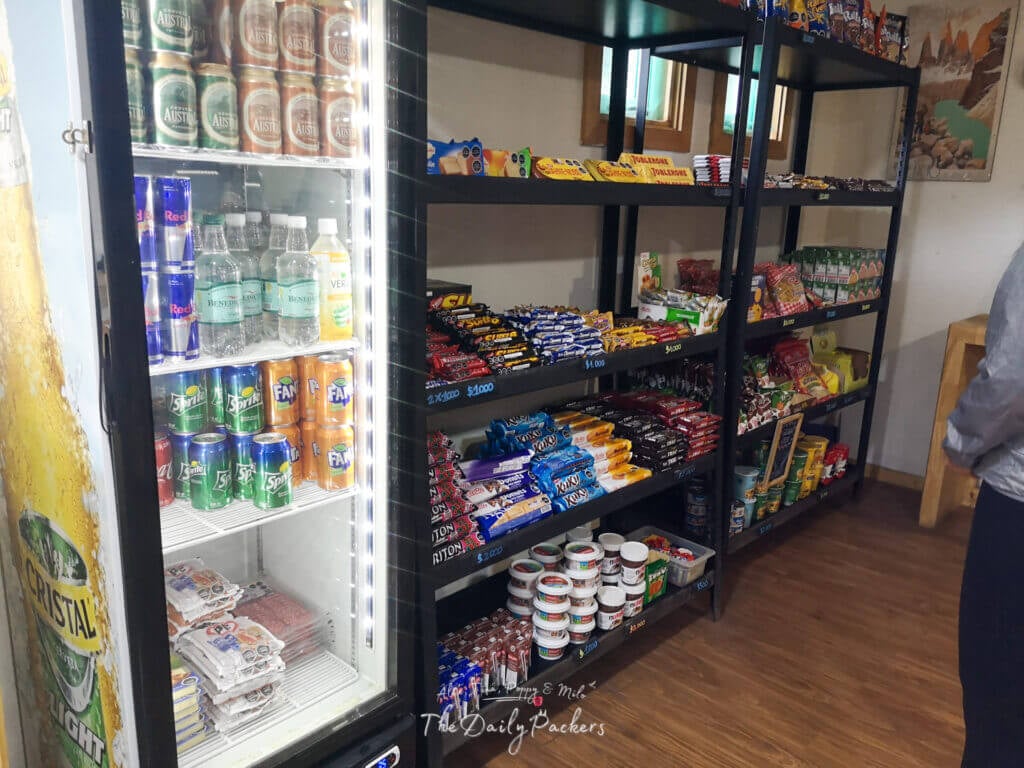
Shops
A minimarket is present next to the kitchen in case you need or forgot something:
- Waters
- Beers
- Sodas
- Cookies
- Biscuits
- Nutella
- DDL
- Chocolate
- Chips
- Dry soups
- Pasta and sauce
- Wraps
- Cheeses
- Eggs
- Breads
- And so on…
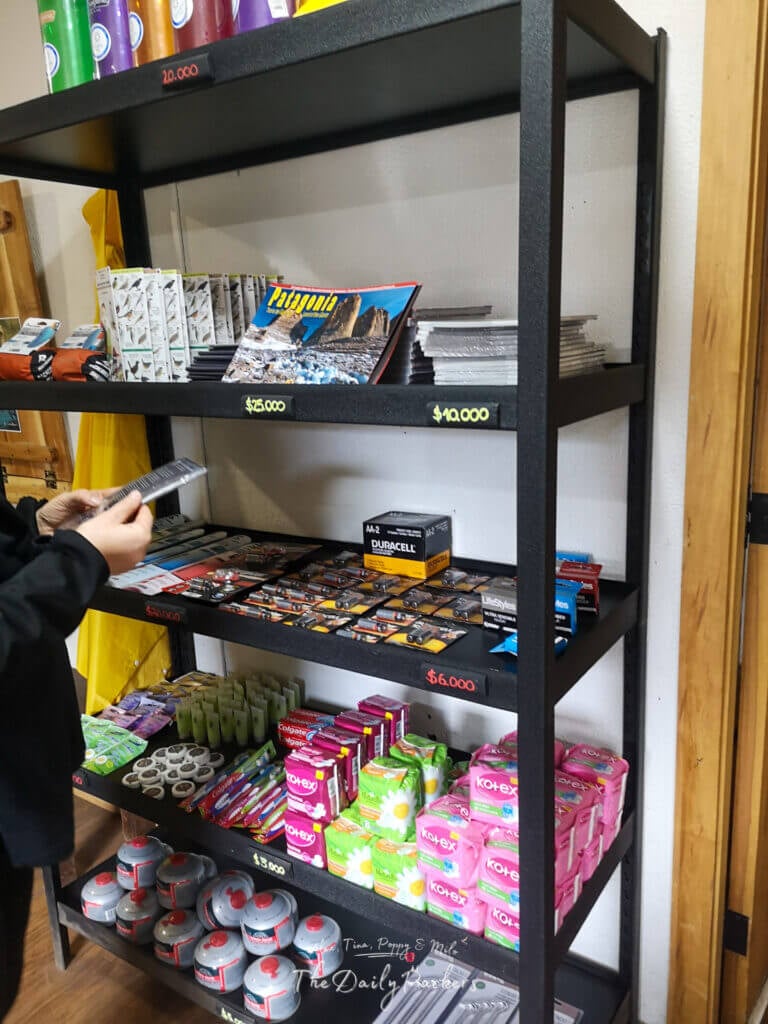
If you need to use the internet, there are some computers available.
There are also batteries, maps, pads, gas, soaps…


Conclusion
The first day of the W-Trek was fairly easy—not too challenging, but also not the most spectacular part of the trail. That said, it was a great introduction to Torres del Paine, and we were excited for the days ahead.
If the weather allows, we highly recommend hiking to the Glacier Grey viewpoint upon arrival at Grey Shelter. It’s only a 15-minute walk past the shelter, offering stunning close-up views of the glacier. Unfortunately, it was pouring when we arrived, so we decided to check it out the next morning instead—but if conditions are good, it’s best to visit right away.
Read: The Ultimate Torres del Paine hiking guide, 5-day W-Trek
About the authors
We are Alex and Tina, a French-Serbian couple who met in China back in 2014. We spent three incredible years there before making France our home. Our shared passion for travel has been the heartbeat of our relationship for over 12 years, taking us across 44 countries and counting.
We launched TheDailyPackers in 2019 as a way to document our adventures. In 2026, we reached a major milestone by officially turning our blog into our full-time job. While we are still growing toward financial independence through this platform, every article we write is fueled by our mission to make your voyages easier through in-depth guides, honest advice, and the lessons we’ve learned from our own mistakes.
Our journey has not been without its storms. In 2023, our world changed forever when our first son, Poppy, was stillborn on November 25th. It was, and remains, the hardest chapter of our lives. In 2025, we were blessed with our second little boy, Milo. He has since joined our traveling tribe, and you’ll be seeing him—and the reality of traveling with a little one-on the blog more and more.
We hope to inspire you to explore the world with curiosity and resilience. Thank you for being part of our story.
You may also like those related posts
Self‑Drive Husky Sledding in Tromso: The Ultimate Day Trip
Bratislava Old Town Hall: History, Museum & Tower Views
Refugio Frey via Cerro Catedral: The Ultimate Hiking Guide
Balagne Travel Guide: Best Places to Visit in 1 Day
TMB Stage 2: Guide from Les Contamines to Col de la Croix du Bonhomme
8 best things to do in Trogir, Croatia, in 1 day
13 Useful Maldives Travel Tips
10 Travel Documentaries to Inspire Your Next Adventure
Pssst, did you know that…
If you purchase something through our links, we earn a small fee. However, you still pay the same. Win-win! And one day we may get to be full-time travel bloggers =)
Find Hotels with Booking.com
Do Yoga with KVY
Buy us a Coffee
Rent a car with DiscoverCars
Find Attractions with GetYourGuide
Find Flights with Expedia
Buy an eSIM with Airalo
Get insured with World Nomads
Get ready with Amazon.com